











Designer Ceiling Fans: Style That Keeps Air Moving
Updated on: 2026-07-15
Designer ceiling fans can transform how a room looks and feels. They combine airflow comfort with a polished style that fits modern, traditional, or transitional interiors. With smart blade shapes, quality finishes, and smooth performance, they help you stay comfortable without cluttering your space. This guide walks you through choosing the right fan, planning installation, and getting the best results from day one.
Buyer’s Checklist
If you want your space to feel cooler, brighter, and more comfortable, starting with the right spec is everything. Use this checklist to narrow down designer ceiling fans quickly and confidently.
- Room size: Match fan blade span to the space. Larger rooms typically need bigger airflow coverage.
- Ceiling height: Choose a mount style that fits your ceiling and keeps the fan at the right clearance.
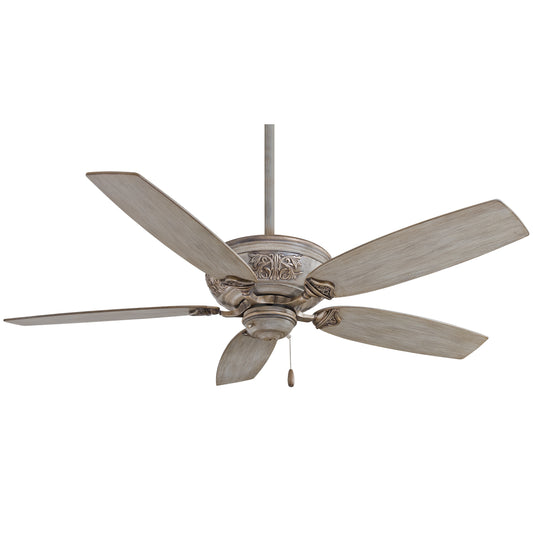
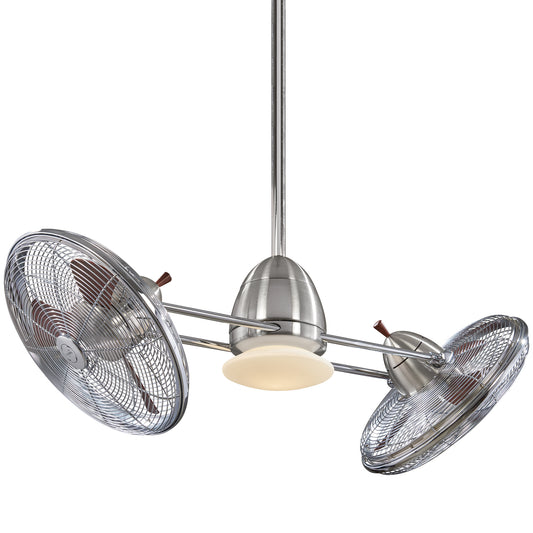
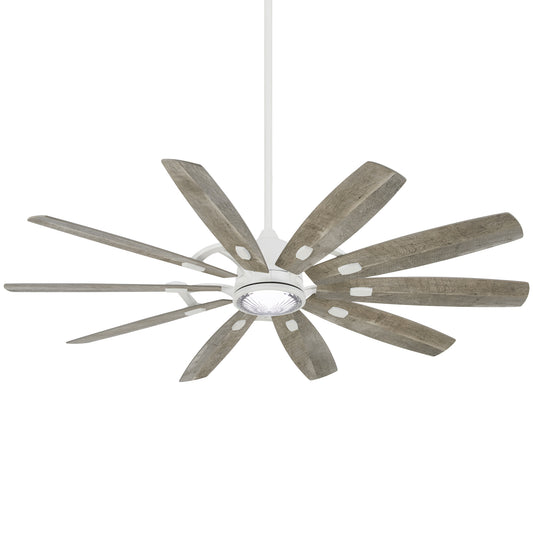
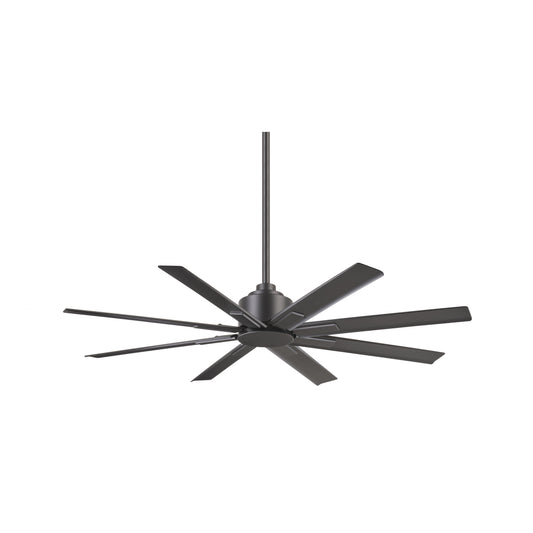
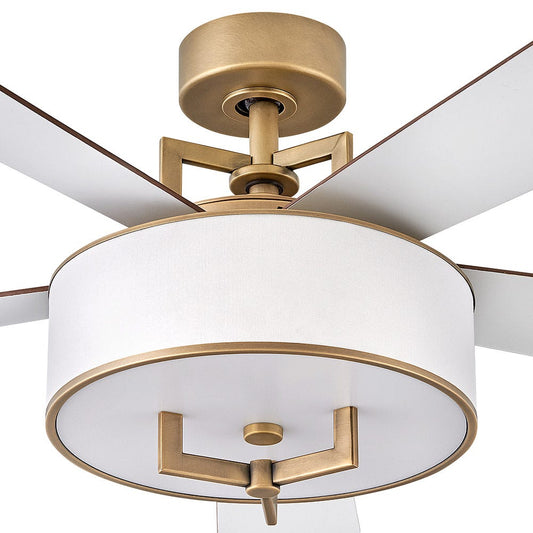
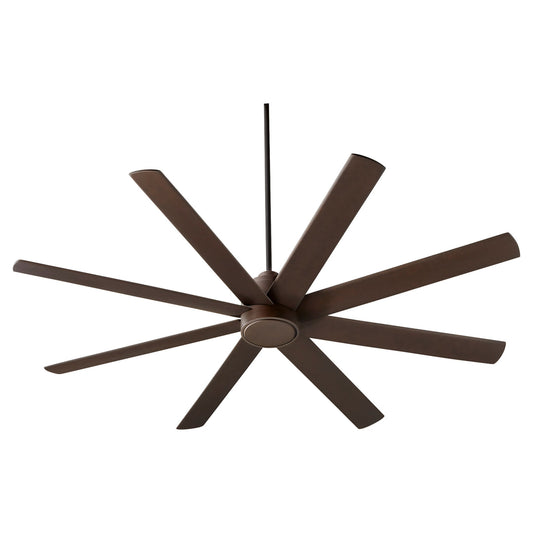
- Blade design: Pick blade styles that complement your décor. A clean silhouette can make the fan feel intentional, not bulky.
- Motor quality: Look for smooth operation and dependable performance for daily use.
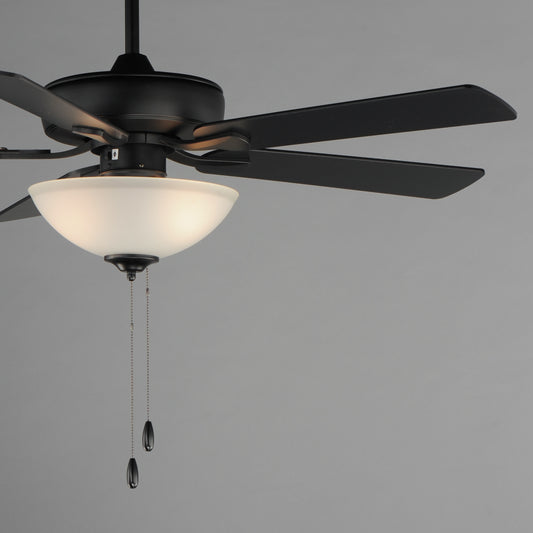
- Lighting needs: Decide if you want an integrated light kit or a fan-only look.
- Finish and color: Select a finish that blends with hardware, trim, and furniture tones.
- Controls: Confirm your preferred control method so comfort stays effortless.
- Installation comfort: If you’re replacing an existing fan, verify wiring compatibility and mount type.
Once you check these items, you’ll be better prepared to shop designer ceiling fans that fit your room and your routine.
Step-by-Step Guide
Here’s an easy path to buying designer ceiling fans with fewer surprises and better results. Follow each step and you’ll end up with a fan that looks great and performs even better.
- Measure the room: Note the length and width, then consider any open floor plan connections.
- Check ceiling height: Measure from the floor to the ceiling and decide if you need extra downrod length.
- Choose your style direction: Decide if you want a sleek modern profile, a more classic look, or something in between.
- Select blade span: Use your room size to choose a fan size that supports comfortable airflow.
- Decide on lighting: If your space needs illumination, select a fan with a light option. If your fixtures are already covered, choose a fan-only design.
- Match finish details: Tie the fan’s finish to your door hardware, frames, or lighting fixtures for a cohesive look.
- Confirm motor and control features: Prioritize smooth speed changes and user-friendly controls.
- Plan installation: Ensure you have the right mounting hardware and enough clearance.
- Verify warranty and support: Pick from brands and listings that clearly support installation and parts needs.
When you shop with this order in mind, you reduce guesswork and get a designer ceiling fan that truly fits your home.
Key Choices That Make Designer Ceiling Fans Worth It
Designer ceiling fans do more than move air. They elevate the room’s visual balance and help you feel comfortable at a consistent temperature. The difference is usually found in thoughtful design choices, solid components, and the right fit for your space.
1) Pick the right look for the room
Think about how your fan will appear from different angles. In living rooms, it’s often visible immediately, so blade shape, motor housing lines, and finish matter. In bedrooms, a softer, more cohesive look can create a calmer atmosphere. In dining areas, you want the fan to feel proportional and refined, not distracting.
2) Focus on airflow comfort
Comfort comes from effective airflow and smooth speed control. If you host guests often, you’ll appreciate a fan that supports steady circulation across seating areas. In everyday spaces, quiet operation and consistent performance help you keep the room comfortable without turning the fan up too high.
3) Choose lighting only if it truly helps
Many homes need layered lighting. A designer ceiling fan with a compatible light setup can add brightness where you need it. If your room already has bright overhead fixtures, you may prefer a fan-only style to keep the look clean and open.

Room silhouette with styled shapes and airflow arrows
4) Match the finish to your existing décor
Finish is where designer fans often shine. A modern brushed tone can pair well with clean lines and light woods. A deeper finish can add warmth and contrast in rooms with neutral walls. When the fan blends with other hardware and fixtures, it looks like it belongs, not like it was added later.
5) Consider motor-driven performance
The motor is the engine behind everyday comfort. A reliable motor helps your fan run smoothly at multiple speeds. When airflow feels even and control feels consistent, the fan becomes part of your comfort routine instead of a device you rarely use.
Installation and Care Tips
Getting the best experience from designer ceiling fans starts with good installation and simple maintenance. You do not need to overcomplicate it, but you do need to be deliberate about clearance, mounting, and safe wiring practices.
Before you install
- Confirm ceiling support: Ceiling fans should be mounted to a rated electrical box and secure structural support.
- Plan clearance: Ensure the fan blades have enough space from the ceiling and nearby walls.
- Use the right mounting approach: Flush and downrod setups both work, but your ceiling height and airflow needs decide which one is best.
- Double-check wiring compatibility: If you are replacing a fan, confirm the existing wiring supports the new unit’s requirements.
During installation
Take your time with alignment and tightening. Balanced blade installation helps reduce wobble. If your ceiling is sloped, verify the mounting method keeps the fan level and stable.
After installation
- Test speeds and controls: Confirm each speed changes smoothly.
- Listen for unusual sounds: Minor noise can sometimes be normal, but persistent clicking or rattling should be checked.
- Keep it clean: Dust can build up on blades and affect airflow efficiency and appearance. A gentle wipe during routine cleaning is enough for most homes.

Installation checklist icons near ceiling height ruler
Where designer fans perform best
Designer ceiling fans are especially useful in spaces where comfort and aesthetics both matter. Consider placing them in:
- Living rooms: Create airflow across seating and reduce stuffy corners.
- Bedrooms: Help maintain steady comfort for restful nights.
- Dining areas: Add style while keeping airflow moving during dinners.
- Great rooms: Support open-plan circulation and visible décor impact.
Real Customer Feedback
Shoppers often tell us that the biggest surprise is how much a well-chosen fan changes the room. Below are common themes that customers mention when they upgrade their spaces with designer ceiling fans.
“It looks like it belongs in the room.”
Many people mention that the fan’s finish and blade design feel coordinated with their existing décor. When the fan matches the style of other fixtures, the room looks finished instead of temporary.
“Airflow feels smooth, not harsh.”
Customers frequently describe the comfort difference as “even” and “steady.” Instead of rushing air, the fan circulates in a balanced way, helping the room feel more usable throughout the day.
“Installation felt manageable with clear steps.”
Even when replacing a fan, buyers say that careful planning and checking clearance makes the process go smoothly. They appreciate when the end result feels stable and quiet.
If you want to see designer-ready options, browse fan collections built for style and everyday performance. For example, you can explore motor-focused choices like Stella Motor, streamlined upgrades such as Doren, or polished statement styles like Kwint.
FAQ
How do I choose the right size for designer ceiling fans?
Start with room dimensions and ceiling height. A larger blade span generally supports airflow across bigger areas. If your room has multiple seating zones, you may also benefit from a fan that can circulate air more effectively without running at extreme speeds.
What’s the benefit of a designer ceiling fan compared to a standard model?
A designer ceiling fan usually offers more refined blade profiles, finishes, and overall visual balance. It can elevate your décor while still delivering practical comfort through smoother airflow and user-friendly controls.
Do I need a fan with built-in lighting?
Not always. Choose built-in lighting if your space needs extra brightness or if you want a coordinated look in one fixture. If you already have strong overhead lighting, a fan-only style can keep the design clean and minimize visual clutter.
Are designer ceiling fans difficult to install?
Installation difficulty depends on whether you are replacing an existing fan and how your ceiling is set up. If wiring and mounting match the new unit requirements, many upgrades are straightforward. Always follow the included instructions and prioritize safe, secure mounting.
Ready to upgrade your space? Shop designer ceiling fans at Fan & Lights and find the look and airflow level that fit your room. Explore current selections, compare finishes, and choose a fan that matches your style goals and comfort needs.
Disclaimer: This article is for general informational purposes only. Always follow the manufacturer’s installation instructions and consult a qualified professional if you have any doubts about electrical wiring, ceiling support, or mounting requirements.

An Owner of The Fan Connection, Selling Ceiling Fans for the past 15 years and been in business since 1979. Living in Florida the sunshine state, Love my pup Trooper.


