


How to Install a Ceiling Fan: Your Definitive (and Fun!) DIY Guide
Putting up a ceiling fan is a fantastic weekend project that breaks down into a few key stages. You've got the planning, killing the power, mounting the bracket, actually building the fan, wiring it up, and finally, balancing the blades for smooth, quiet operation. Get these steps right, and you'll turn a simple task into a seriously satisfying home upgrade. Let's make this fun, shall we?
Your Pre-Installation Game Plan Is Everything
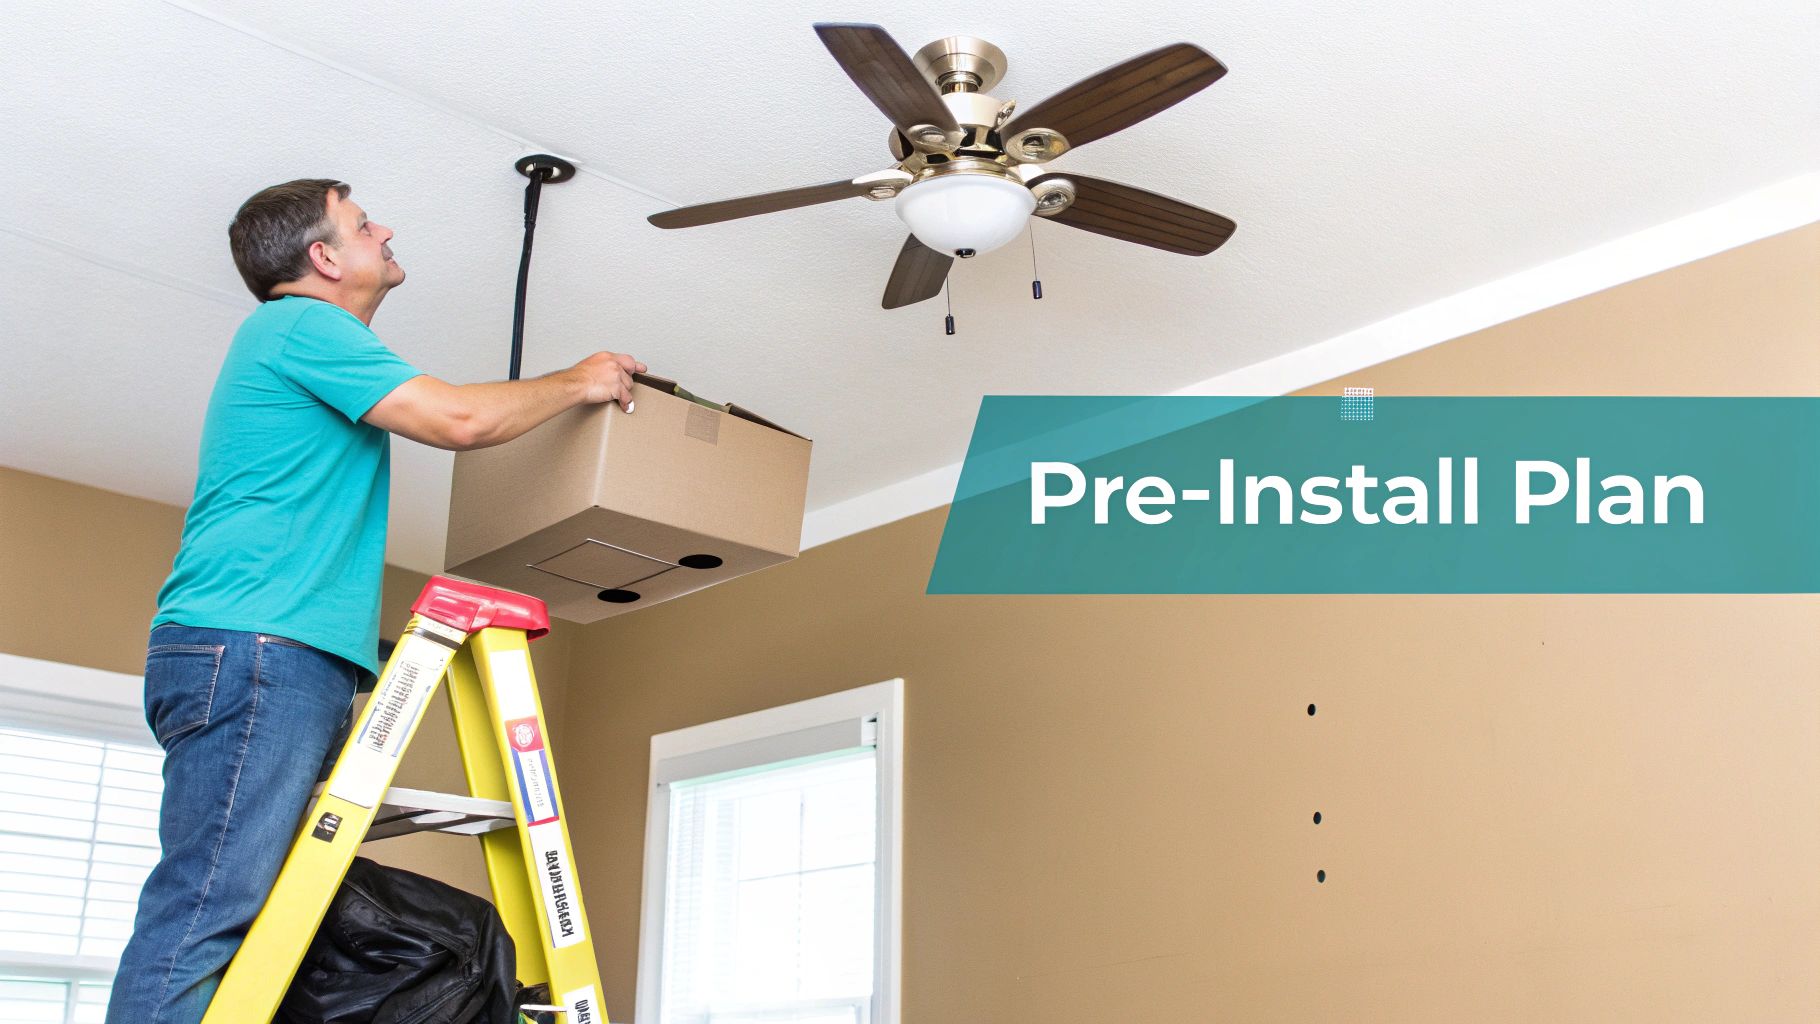
Before you even touch a screwdriver, you need a solid plan. I know the fun part is picking out a great-looking fan, but the most important part is making sure it's a safe and perfect fit for your room. A little prep work now saves a ton of headaches later and guarantees your new fan runs securely for years. It's like the boring part of the movie that sets up the epic finale!
There's a reason the global ceiling fan market is valued at roughly USD 11.2 billion in 2024 and is expected to hit USD 14.7 billion by 2033—they’re an amazing, energy-efficient way to stay comfortable. Your new installation is part of a huge trend toward smarter, more sustainable home comfort.
The Most Important Safety Check
First things first, and this one is non-negotiable: you absolutely must confirm the electrical box in your ceiling is fan-rated. A standard light fixture box is only built to hold a few pounds. A ceiling fan is heavy, and it's constantly moving and vibrating. It's a spinning machine of awesome, and it needs a strong foundation.
An unrated box just can't handle that stress. This is one of the biggest safety risks, as a fan could literally fall from the ceiling. Yikes.
Look inside the box; a fan-rated one will often be stamped with something like "Acceptable for Fan Support." It’s usually made of metal and, most importantly, must be anchored directly into a ceiling joist or a support brace. If you have any doubt at all, replace it.
Sizing Your Fan for Perfect Airflow
Next up is getting the size right. We're talking about the "blade span"—the diameter from the tip of one blade to the tip of the opposite blade. A fan that’s way too big for a room will create an unpleasant wind tunnel. One that’s too small won't move the air effectively, and you'll barely feel it. It's the Goldilocks principle of air movement: you want it just right.
Choosing the right fan blade span for your room's size is the key to optimal airflow. Use this quick guide to find the perfect match.
Matching Fan Size to Your Room
| Room Size (Up to Sq. Ft.) | Recommended Fan Diameter (Inches) |
|---|---|
| 75 | 29–36 |
| 175 | 42–48 |
| Over 175 | 52 or larger |
Getting this right ensures you get the comfort you’re looking for without wasting energy on an inefficient setup.
For a deeper dive, check out our guide on choosing the right ceiling fan size for maximum efficiency.
Planning for Proper Clearance
Finally, let’s talk about where the fan will live. To keep everyone safe and get the best possible airflow, your fan needs some breathing room.
Key Clearance Rule: For safety and performance, the bottom of the fan blades should be at least 7 feet from the floor. This is a standard building code requirement in many areas.
You also need to make sure the tips of the blades are at least 30 inches away from any walls or tall furniture. If you’re installing a beautiful model like the sleek Fanimation Kute 52" Ceiling Fan ($518.00), giving it the right space not only keeps it safe but also lets its design truly shine. Taking a few quick measurements beforehand confirms your fan will fit perfectly and run flawlessly.
Shutting Down Power and Clearing the Workspace
Before you even think about unboxing that beautiful new fan, we have to talk about the most critical step of the entire project: preparation. This isn't just about grabbing your tools; it's about setting up a safe, organized workspace. Getting this right from the start makes the rest of the installation a breeze.
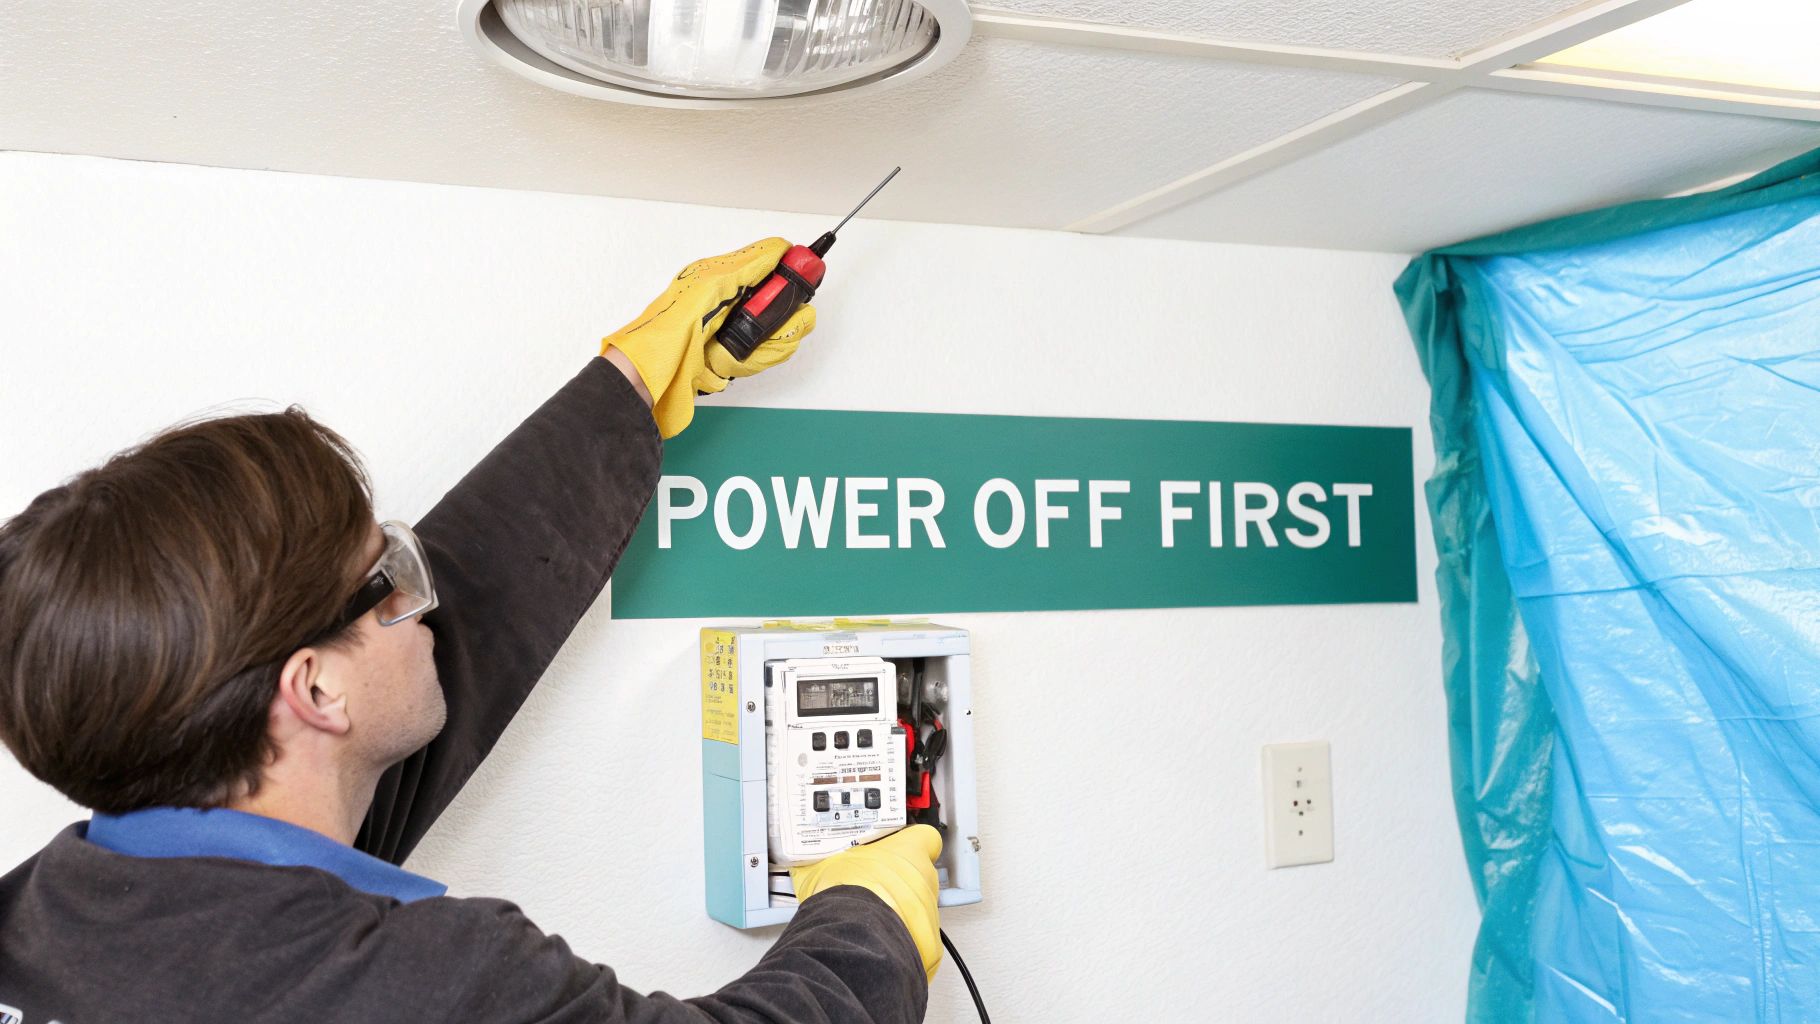
First things first: kill the power. This is the absolute, 100% non-negotiable first step. Make your way to your home's circuit breaker panel—it's usually tucked away in a garage, basement, or utility closet. Your mission is to find the single breaker that sends power to the room you're working in.
Finding and Verifying the Right Breaker
If your panel is nicely labeled, count yourself lucky. Just find the right room and flip the breaker to the "OFF" position. But let's be real—most panels are a mess of scribbles or have no labels at all. If that’s your situation, you’ll need an assistant.
Have your helper go into the room and turn on the light fixture you're about to replace. Now, go back to the panel and start flipping breakers one by one. The instant your helper shouts that the light is off, you've found your circuit.
Pro Safety Tip: Don't ever assume flipping the breaker is good enough. I can't stress this enough: always, always double-check with a non-contact voltage tester. Touch the tip of the tester to the wall switch, then carefully touch it to each of the wires inside the ceiling box. If it lights up or beeps, you've still got live power.
This little tool costs less than a pizza and is the only way to be absolutely certain the circuit is dead. It's a must-have for any DIYer touching electrical wiring.
Preparing Your Workspace and Removing the Old Fixture
Okay, power is confirmed off. Now it's time to get your work zone set up. A few minutes of prep here will save you a world of headache later.
- Set Up Your Ladder: Make sure your stepladder is sitting on a solid, level surface. A wobbly ladder is a recipe for disaster.
- Protect Your Space: Throw down a drop cloth or an old bedsheet. It’ll catch dust, drywall bits, and that one tiny screw you’re guaranteed to drop.
- Organize Components: Unbox the new fan and lay out all the hardware on your drop cloth. This way, you're not scrambling to find parts while balancing on a ladder.
If you're swapping out an old light fixture, now's the time to get it down. Unscrew its canopy, then carefully twist the wire nuts off to disconnect the fixture from the ceiling wires. With the old unit out of the way, give the existing wiring a quick look for any damage, like cracked insulation or corrosion.
A well-prepped workspace keeps you safe and makes installing a premium fan like the stunning Craftmade Chisel 54" Ceiling Fan ($418.00) feel like a professional job, not a weekend struggle. With the power off and your area ready, you’re all set for the main event.
Putting It All Together: Assembling and Mounting Your New Fan
Alright, the power is off, the old fixture is gone, and your workspace is prepped. Now for the fun part—turning that box of parts into the new centerpiece of your room. This is where the project really comes to life. We’ll tackle this in two main stages: assembly on the ground and then getting it up on the ceiling.
Pro tip: assemble as much of the fan as you can comfortably on the floor. It's the secret to a stress-free installation. You're not trying to juggle a heavy motor and tiny screws while balancing on a ladder. It's safer, faster, and just plain smarter.
Securing the Foundation: Your Mounting Bracket
First things first, let's create a rock-solid anchor for your fan. The mounting bracket that came in the box is the only thing connecting the fan's full weight to your ceiling, so it has to be perfect.
Using the screws provided with the fan, attach the bracket directly to that fan-rated electrical box we talked about earlier. Once it's in, give it a good, firm tug. It shouldn't wiggle, shift, or move at all. A securely mounted bracket is your number one defense against a wobbly fan down the road.
Expert Insight: It might be tempting, but don't reuse the old screws from the light fixture you just took down. The hardware included with your new fan is specifically rated to handle its weight and rotational force. Using the right screws is a small detail that makes a huge difference in safety.
Assembling the Fan Motor on the Ground
Now, let's get the core of the fan ready. Your instruction manual is your best friend here, but the process usually involves threading the motor's wires up through the downrod and then securing the downrod to the motor housing. Make sure you really tighten the set screw so that connection is completely rigid.
Next, you'll slide the decorative canopy over the downrod, followed by the canopy cover if your model has one. This is also the perfect time to attach any yoke cover that hides the hanging ball joint. Getting these pieces on now will save you a world of frustration later.
Your choice of downrod really just comes down to your ceiling height.
- Standard Downrod: For most ceilings between 8-9 feet, the shorter downrod that comes in the box is just what you need.
- Flush Mount (Hugger Style): Got ceilings lower than 8 feet? You'll likely skip the downrod entirely and mount the fan motor directly to the canopy, letting it "hug" the ceiling for maximum headroom.
- Extended Downrod: For taller or vaulted ceilings, you’ll need to grab a longer downrod (sold separately) to bring the fan down to that sweet spot of 7-9 feet off the floor for the best air circulation.
The "Hang and Hook" Technique
Here’s a trick that makes lifting the fan a one-person job. Most modern mounting brackets have a J-hook or a special slot designed to temporarily hold the fan motor's hanging ball. You can lift the assembled motor up and simply hook it onto the bracket.
This clever design safely suspends the motor, freeing up both of your hands to deal with the wiring. It’s a game-changer compared to old-school installations where you had to hold a heavy fan with one arm while fumbling with wires. The global ceiling fan market, valued at around USD 11.39 billion in 2024, has seen huge improvements in user-friendly features like this, which is a big reason why the market keeps growing. You can find more insights on ceiling fan market trends on sites like industryresearch.biz.
Attaching and Balancing the Blades
With the fan securely hanging, the last piece of the puzzle is the blades. Start by attaching the blade irons (the metal arms) to the blades themselves. Get the screws snug, but don't go crazy overtightening them. Then, you can attach the fully assembled blades to the motor.
A great tip for getting a good balance right from the start is to tighten the screws in a star or crisscross pattern, just like you would when changing a tire. This distributes the pressure evenly and helps prevent any warping that could cause a wobble. For a premium, design-forward fan like the Kichler Terna 15" Ceiling Fan ($449.99), taking a moment to attach the blades perfectly ensures its unique look is matched by smooth, silent performance.
Now that everything is assembled and mounted, you're ready for the final step: wiring it all up.
Making Sense of the Wires for Any Setup
With the fan securely hanging from its bracket, it’s time to tackle the one part of the job that makes most people a little nervous: the wiring. But here’s the secret it’s really just a color-matching game. Once you know what each wire does, it all falls into place.
Think of your home's wiring as the power source and your fan's wiring as the recipient. Your only job is to introduce them correctly so they can work together safely. The most important thing is creating solid connections with the provided wire nuts. A loose connection is the number one cause of a fan or light not working, so give each one a good twist and a gentle tug to make sure it's snug.
The Standard Single-Switch Setup
This is the most common scenario you'll run into. You have one switch on the wall that turns both the fan and its light on and off at the same time. In your ceiling box, you'll typically find three wires: a black wire (hot), a white wire (neutral), and a bare copper or green wire (ground).
Your fan will also have its own set of wires coming from the motor—usually a black one for the fan, a blue one for the light kit, a white neutral, and a green ground.
For a single-switch setup, you’ll group the wires like this:
- Connect the black wire from the ceiling to both the black and blue wires from the fan. This sends power to both the fan and the light simultaneously.
- Next, connect the white neutral wire from the ceiling to the white neutral wire from the fan.
- Finally, connect the green ground wire from the ceiling to the green ground wires from both the fan's mounting bracket and the motor itself.
That’s all it takes to get most fans up and running.
Wiring for Dual Switches
What if you have two switches on the wall and want to control the fan and light independently? This setup requires an extra "traveler" wire in your ceiling box, which is usually red. If you see black, red, white, and ground wires, you’re in luck.
This wiring gives you complete control. The black wire from your ceiling will power one function (usually the fan motor), and the red wire will power the other (the light).
Here’s how the connections look:
- Connect the black wire from the ceiling to the black fan motor wire.
- Connect the red wire from the ceiling to the blue light kit wire.
- The white and green wires connect just like before: white to white, and all grounds twisted together.
If you ever decide you'd rather have a single light fixture instead of a fan, the wiring principles are very similar. You can learn more by checking out our guide on how to change a ceiling fan to a light fixture.
Installing a Modern Remote Control
For the ultimate convenience, nothing beats a fan with a remote control. This is where a high-end model like the minimalist Matthews Fan Co. Irene 60" ($785) really shines, offering seamless control from anywhere in the room.
Installing the remote involves one extra component: the receiver. This small black box is designed to slide neatly into the mounting bracket, right next to the hanging ball.
The wiring is a two-step process. First, connect the receiver's input wires to your ceiling wiring (black to black, white to white). Then, connect the receiver's output wires to the fan's motor wires (black to black, blue to blue, white to white). The ground wires bypass the receiver entirely and connect directly to each other.
Key Takeaway: The remote receiver acts as a middleman. Power flows from your ceiling, into the receiver, and then the receiver sends commands out to the fan and light. Once installed, you’ll leave the wall switch on permanently and use the remote for everything.
The diagram below gives you a good sense of the main assembly stages before you even get to the wiring.
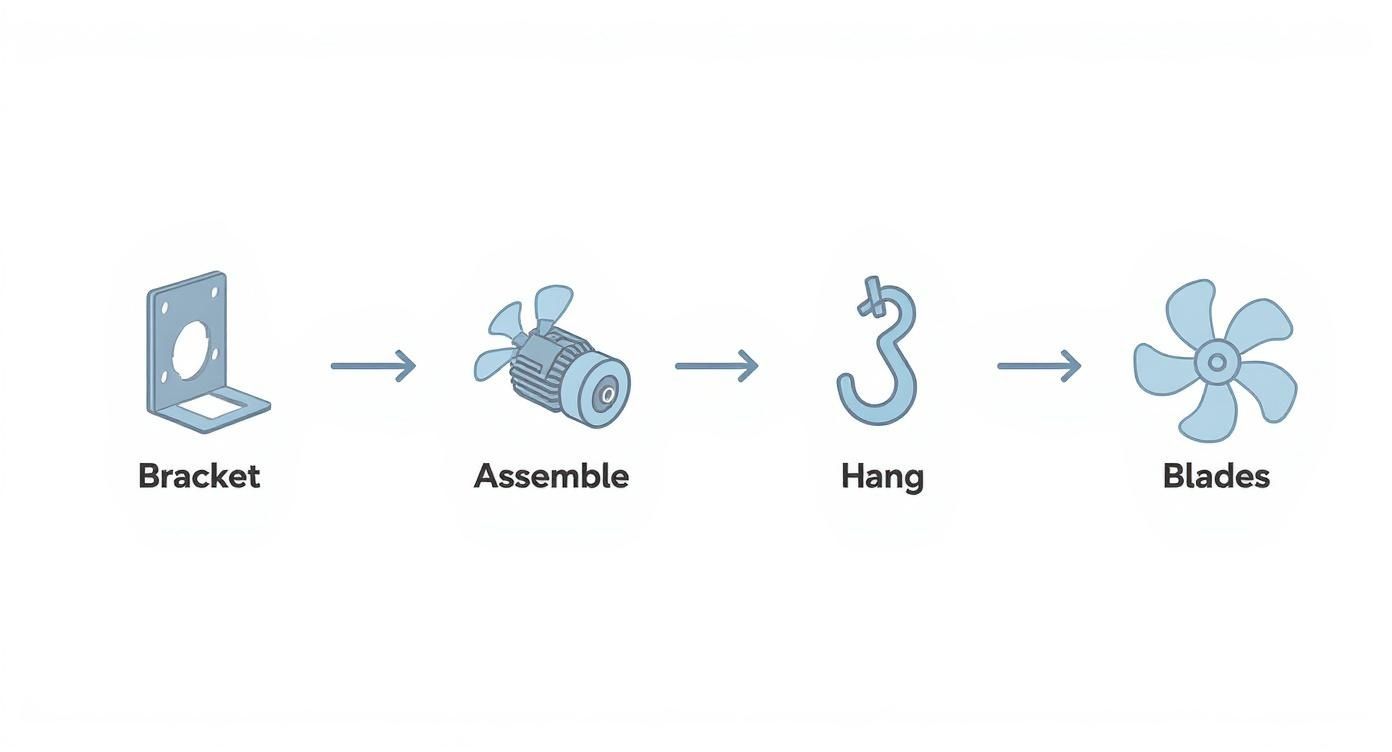
As you can see, securing the bracket and assembling the fan on the ground are key steps before you hang it and start connecting wires.
Whether you're doing a simple install or adding a remote to a premium fan like the sleek AERATRON AE3+ 60" ($649), matching the wire colors correctly is the key to a successful project. With the wiring complete, you're ready for the final touches.
Final Touches and Wobble-Free Balancing
You’re in the home stretch. This is where the real craftsmanship shows, turning a good installation into a great one. With the motor hanging and the wires connected, it’s time for the details that give your project that clean, professional look—from adding the light kit to getting a perfectly silent, wobble-free spin.
First up, the aesthetics. If your fan has a light kit, now's the time to install it. This is usually a breeze, involving just a few screws and a simple plug-in connector that’s pretty much impossible to mess up.
Once the kit is secure, gently twist in the bulbs and attach any glass shades. Just a quick word of advice: don't overtighten them. You want them just snug enough to be secure, and nothing more.
Securing the Canopy and Restoring Power
With all the parts in place, let's button it all up. Carefully tuck all the wires—and the remote receiver, if you have one—up into the outlet box. You’d be surprised how much room is actually in there.
Next, slide the canopy up until it sits perfectly flush against the ceiling, leaving no gap. Secure it with the provided screws, then take a step back and admire your handiwork. It's really starting to look like a fan.
Now, it’s time to head back to the breaker box and flip the circuit back to the "ON" position. This is the moment of truth.
Testing and Troubleshooting
Back in the room, grab the remote or head to the wall switch to run the fan through its paces.
- Test All Speeds: Start on the lowest setting and cycle all the way up to the highest.
- Check the Light: Flip the light on and off. If you have a dimmer, make sure that works, too.
- Verify the Remote: Press every button on your remote to ensure it's working as expected. If you ever need a replacement, a good universal option like this remote for your fan can be a lifesaver.
If everything works like a charm, congratulations! If not, don’t sweat it. The culprit is almost always a loose wire. Just kill the power again and double-check your connections.
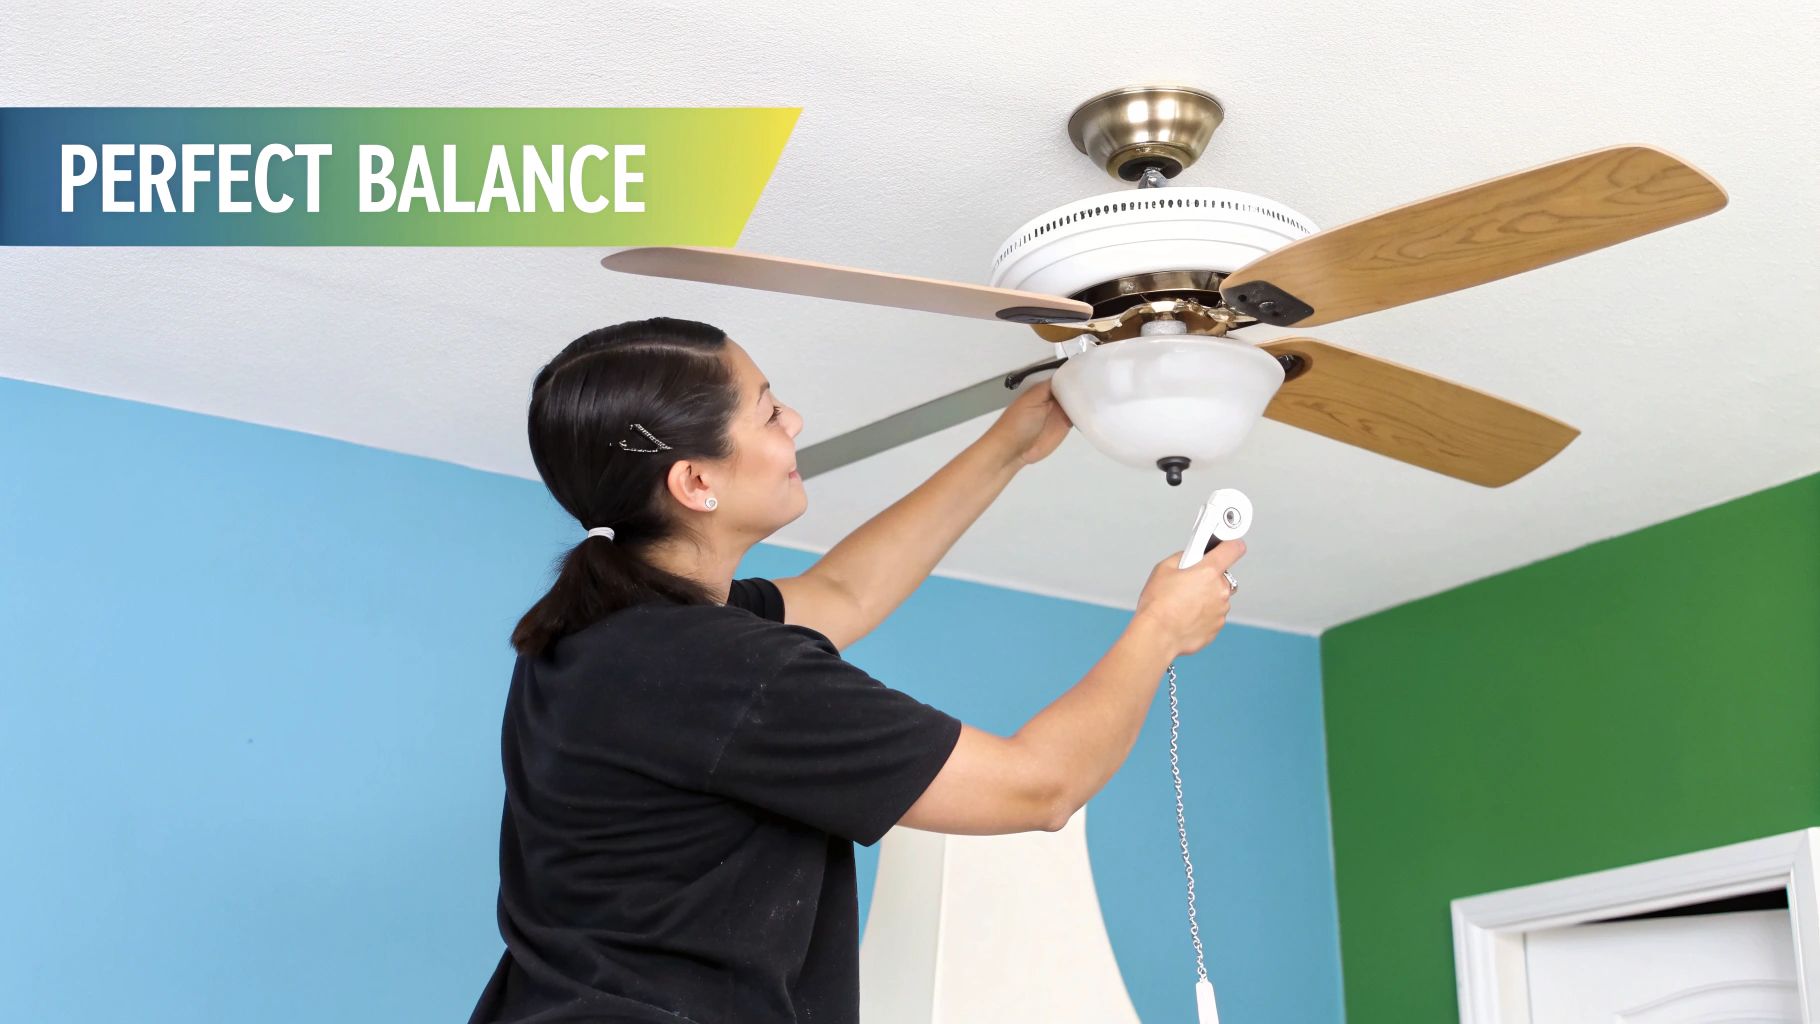
Achieving a Perfect, Wobble-Free Balance
Turn the fan on its highest speed and watch it closely. A tiny bit of movement is totally normal, but if you see a noticeable wobble, we can fix that. Don't get discouraged; even fans installed by pros need a little fine-tuning. That small balancing kit that came in the box is about to become your best friend.
Pro Tip: Before you grab the balancing kit, make sure every blade screw is tightened down securely. From my experience, a single loose screw is responsible for about 90% of all wobble issues.
The kit should have a plastic clip and a few small, sticky weights. The whole process is really just a simple game of trial and error.
- Clip It On: Attach the plastic clip to the back edge of any fan blade, about halfway out from the motor.
- Test It Out: Turn the fan on high. If the wobble gets worse, move the clip to the next blade. If it gets better, you've found the blade that's causing the trouble.
- Find the Sweet Spot: Keeping the clip on that problem blade, slide it in and out along the edge—closer to the motor, then further away—and test the fan each time. You're looking for the exact spot where the wobble nearly disappears.
- Add the Weight: Once you've found that spot, turn off the fan, take the clip off, and stick one of the adhesive weights on the top center of the blade, right where the clip was.
Start with one weight and see how it does. You can always add another if it needs a little more help. This simple trick is the secret to a rock-solid, silent fan. When you have a beautifully designed fan, you want a perfectly smooth spin to match. With your fan now running quietly and looking sharp, your job is officially done.
Common Questions We Hear About Ceiling Fan Installations
Even the most straightforward installation can throw you a curveball. It happens to everyone. After helping countless people get their fans up and running, we've heard just about every question in the book.
Let's walk through a few of the most common head-scratchers that pop up, so you can finish your project feeling like you've done this a hundred times before.
"My Wires Don't Match the Colors in Your Guide!"
This is a classic, especially in older homes where the wiring sometimes feels like a bit of a free-for-all. If you open up the ceiling box and don't see the standard black, white, and green wires you were expecting, don't panic. The goal is simply to figure out what each wire does.
This is where your non-contact voltage tester becomes your most valuable tool. With the breaker on, carefully bring the tester near each wire. The one that lights up or beeps is your hot wire—that's the one carrying the power. The others are most likely the neutral and, hopefully, a ground wire.
Crucial Safety Reminder: The second you've found that hot wire, march right back to the breaker and switch it off. Always double-check with your tester to confirm the power is completely dead before you touch anything.
If you happen to see two hot wires (maybe one is red), that's actually good news. It usually means the box was wired to control a fan and light separately from the wall switch.
"Can I Put My Fan on a Dimmer Switch?"
We get this one a lot, and the answer is a firm "it depends." You should absolutely never use a standard light dimmer to control the fan's motor. It's just not designed for that kind of load. Doing so can cause a loud hum, permanently damage the motor, and even create a fire risk. A fan motor needs very specific power levels to run at its different speeds, and a light dimmer just can't deliver that properly.
Now, the light kit is a different story. You can definitely use a dimmer for the fan's lights, as long as the light kit itself and the bulbs you're using are rated as dimmable. Many newer fans solve this problem for you by including a remote control or wall unit with built-in functions for both fan speed and light dimming.
"Why Is My Brand-New Fan Making Noise?"
A freshly installed fan should be whisper-quiet. If you're hearing any clicking, humming, or scraping, it's a sign that something needs a quick adjustment.
- Clicking Sounds: Nine times out of ten, this is a blade iron that's just a little loose where it attaches to the motor. Go back and make sure every single blade screw is snug and secure.
- Humming Noises: A very faint, low hum can be normal, especially if you're using a remote control. A loud, obnoxious hum, however, often points back to an incompatible dimmer switch or a loose wire nut connection in the canopy.
- Grinding or Scraping: This one is more serious. Turn the fan off immediately. This sound usually means a wire inside the housing canopy has come loose and is rubbing against the motor as it spins.
What Is the Difference Between a Regular and a Smart Fan?
A regular fan is pretty simple—you control it with a pull chain or a basic wall switch. A smart fan, on the other hand, is a huge leap forward in both convenience and efficiency, tying directly into your smart home setup.
Smart ceiling fans are exploding in popularity and are expected to become a nearly USD 1 billion market by 2025. They connect to your home's Wi-Fi, which lets you control them with a smartphone app or voice commands using Alexa or Google Assistant. You can read more insights on the growing smart fan market here.
Choosing a premium smart fan like the Monte Carlo Maverick 60" ($709) isn't just about moving air anymore. It's about adding a layer of intelligent, energy-saving technology that makes your home work better for you.
At Fan Connection, we believe the right fan does more than just move air—it elevates your entire space. From sleek, modern designs to powerful smart fans that integrate with your lifestyle, our curated collection has the perfect fit for your home.
Explore our full collection of premium ceiling fans at Fan Connection today!


