


The Ultimate Guide to Using a Ceiling Fan Cleaner
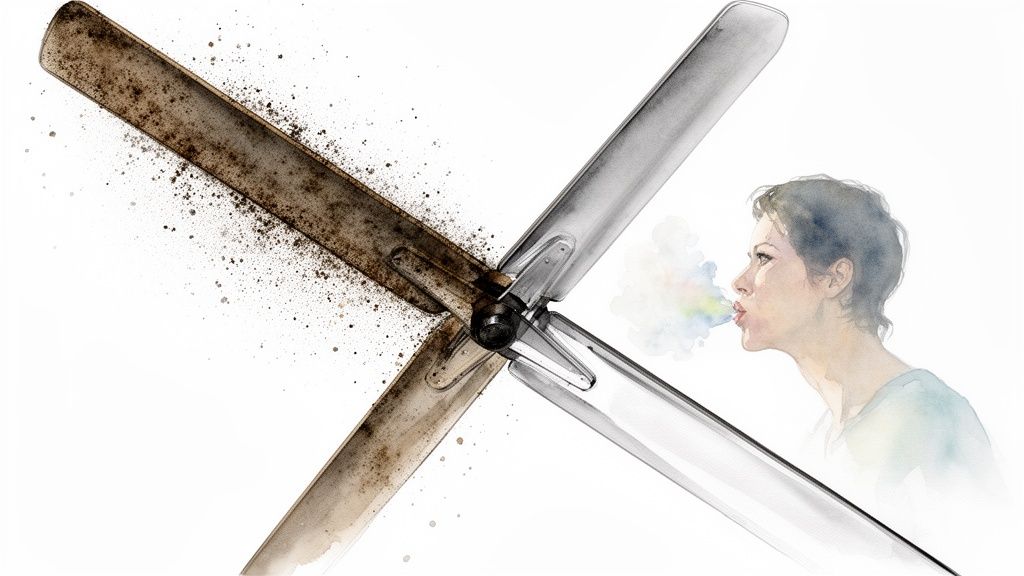
Let's be real—that thick blanket of dust on your fan blades isn't just an eyesore. It’s a hilarious, fluffy collection of dust mites, pollen, and other allergens just waiting to be launched into the air you breathe every time you flip the switch. A simple ceiling fan cleaner can be a total game-changer for your home's air quality, turning a potential dust-pocalypse into a fresh-air paradise.
Why a Clean Ceiling Fan Is Your Secret Weapon for Better Air
That nearly invisible layer of dust piling up on your fan blades is more menacing than it looks. Think of it as a cocktail of airborne particles that, once disturbed, can swirl around your home for hours. This has a direct impact on indoor air quality, which is a big deal for anyone dealing with allergies, asthma, or other respiratory sensitivities.
Seriously, keeping those blades clean is one of the simplest yet most effective ways to maintain a healthier living space. It's an easy win in the battle for a less sneezy, more breezy home.
Beyond the health perks, a dirty fan can actually hit your wallet. All that caked-on grime adds weight to the blades, throwing them off balance. When that happens, the motor has to work harder just to spin, which eats up more electricity and can lead to premature wear and tear. If you've got a wobbly, noisy fan, there's a good chance it's just a dirty fan in disguise, begging for a spa day.
The Hidden Costs of a Dirty Fan
It's easy to overlook the effects of a neglected fan until they snowball into bigger problems. Here are a few things to think about:
- It’s Less Efficient: A layer of dust creates drag, making the fan less effective at moving air. You end up running it longer or at higher speeds just to get the same cooling effect.
- It Strains the Motor: That extra weight and imbalance put a ton of stress on the motor. This can shorten your fan's lifespan and lead to costly repairs down the road.
- It Spreads Allergens: Every single rotation launches dust, pet dander, and pollen right into your living space, triggering allergic reactions and tanking your home's air purity.
The global ceiling fan market is valued at USD 12.89 billion and is still growing, which tells you that fans are a significant investment for millions of homeowners. People are looking for energy-efficient ways to stay cool, and that makes proper maintenance with a good ceiling fan cleaner more important than ever to protect that investment.
A clean fan is an efficient fan. Regular maintenance not only improves air quality but also ensures your fan operates at peak performance, saving energy and extending its life.
At the end of the day, cleaning your fan isn't just another chore—it’s essential maintenance. You can learn more about the breezy benefits of having a ceiling fan in our detailed guide. By keeping your fan pristine, you ensure it stays a powerful tool for comfort and health.
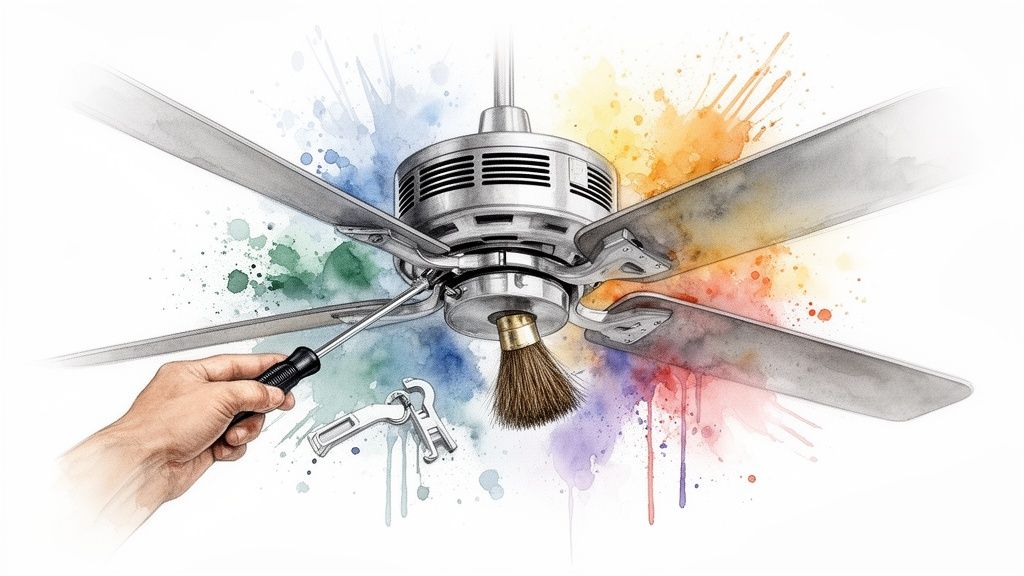
Choosing The Right Tools For The Job
Let’s be honest: picking the right ceiling fan cleaner is the difference between a quick, satisfying task and a frustrating afternoon spent chasing a dust cloud around your living room. Before you even think about climbing a ladder, grabbing the right tools is your first, and most important, move. The goal here is to capture the dust, not just send it flying somewhere else.
The good news? You don't need some complicated, expensive gadget to get a great result. In my experience, the best tools are often the simplest ones you already have lying around the house.
Your Go-To Dusting Arsenal
The classic pillowcase method is legendary for a reason—it’s absolutely brilliant. You just slide an old pillowcase over each blade and pull it back slowly, trapping every last speck of dust inside. This is, hands down, the ultimate mess-free solution for anyone who dreads the thought of dust raining down on their furniture and floors.
If you’re dealing with high or vaulted ceilings, an extendable duster is non-negotiable. Look for one with a microfiber or electrostatic head, which is specifically designed to attract and cling to dust particles. These tools let you clean safely from the ground, which is always the best way to go.
- Microfiber Dusters: These are fantastic for grabbing and holding onto dust. Many now come with flexible heads that you can bend to perfectly match the angle of your fan blades.
- Old Pillowcase: This is your best bet for containing the mess completely. It’s free, it’s effective, and it requires zero special equipment.
- Vacuum with Brush Attachment: For those fans that have a thick, stubborn layer of grime, a vacuum can gently lift off the heaviest deposits before you go in for a final wipe-down.
Essential Supporting Supplies
Beyond the duster itself, a few other items are crucial for doing the job safely and thoroughly. I always start by laying a drop cloth or an old sheet on the floor directly beneath the fan. Even with the pillowcase trick, some dust from the motor housing might escape.
For a deeper clean, especially on kitchen fans that tend to collect greasy residue, you’ll want a gentle cleaning solution. A simple mix of warm water and a single drop of mild dish soap applied to a microfiber cloth works wonders. Just be sure to avoid harsh chemicals that could damage the blade’s finish. For those who prefer more natural solutions, you might want to explore some less common cleaning uses for vinegar as a surprisingly versatile alternative.
Remember: Safety first. Always use a sturdy A-frame ladder placed on a solid, level surface. Never, ever stand on the top step, and don’t overreach—it's far safer to climb down and move the ladder than to risk a fall.
Ceiling Fan Cleaning Tool Comparison
With so many tools on the market, it can be tough to know which one will give you the best results without making a huge mess. I've broken down the most common options to help you decide.
| Tool/Method | Best For | Mess Control | Our Verdict |
|---|---|---|---|
| Old Pillowcase | Containing thick layers of dust on blades. | Excellent. Traps virtually all dust and debris inside. | The undisputed champion for mess-free cleaning. Simple, effective, and you already own one. |
| Extendable Microfiber Duster | High ceilings and routine light dusting. | Good. Microfiber grabs dust well but can drop clumps. | A must-have for vaulted ceilings. Perfect for quick touch-ups between deep cleans. |
| Vacuum w/ Brush Attachment | Extremely dusty fans with heavy buildup. | Fair. Lifts heavy dust but can blow finer particles around. | A great first step for neglected fans, but you'll need to follow up with a wipe-down. |
| Damp Microfiber Cloth | Kitchen fans with greasy buildup or sticky grime. | Excellent. The dampness prevents dust from flying. | The best method for a true deep clean. It removes what simple dusting leaves behind. |
| Specialty "C-Shaped" Duster | Cleaning the top and bottom of a blade at once. | Good. Designed to hug the blade and contain dust. | A neat gadget that speeds up the process, but a pillowcase or folded cloth can achieve similar results. |
Ultimately, the best tool often depends on how dirty your fan is and how high your ceilings are. For most homes, a combination of the pillowcase method for heavy dust and a damp cloth for grime is the winning ticket.
How A Better Fan Makes Cleaning Easier
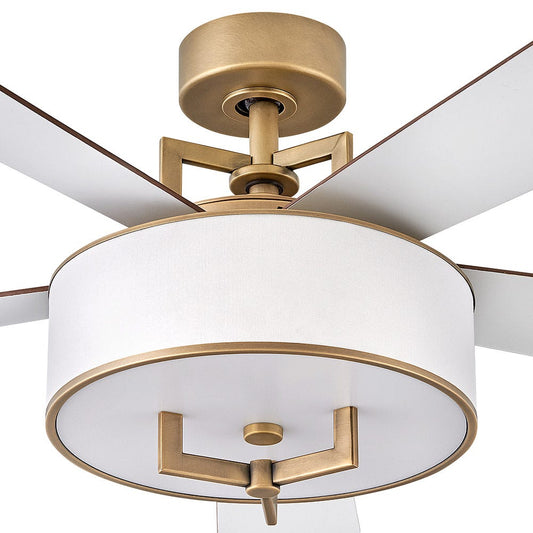
While the right tools make any job easier, it's worth noting that the fan itself plays a huge role in how often you need to clean it. Investing in a premium, well-designed fan can dramatically cut down on maintenance. Take the Minka-Aire F853L-BN/SL Artemis IV, for instance. This stunning fan, priced at over $700, features sleek, aerodynamic blades with very few crevices for dust to settle in. This design makes a quick wipe-down incredibly fast and effective. High-end models like this often have durable finishes that naturally resist grime buildup, meaning your fan simply stays cleaner for longer. While the initial investment is higher, the long-term benefit of simplified cleaning is a huge plus for any busy homeowner.
Your Mess-Free Fan Cleaning Playbook
Let's be honest, cleaning a ceiling fan is one of those chores most of us put off. We know it needs to be done, but the thought of a dust storm erupting in our living room is enough to make us look the other way.
The good news is there's a ridiculously simple trick that traps all that grime right at the source. It’s called the "pillowcase method," and it's a total game-changer for anyone who dreads the cleanup that usually follows the cleaning. Forget about dust raining down on your furniture; we're going to capture it all.
Mastering the Pillowcase Method
First things first: safety. Always make sure your fan is completely off at the wall switch. For total peace of mind, I recommend flipping the breaker in your electrical panel, too. Set up a sturdy A-frame ladder on solid, level ground where you can comfortably reach the blades without stretching.
Now, grab an old pillowcase you don’t mind getting dirty. Carefully climb the ladder and get yourself situated to the side of one of the fan blades. Slip the pillowcase over the entire blade, just like you’re putting on a pillow.
Here comes the magic part. Using both hands, gently press the fabric against the top and bottom of the blade and slowly pull the pillowcase back toward you. All the caked-on dust and allergens that have been living up there will be trapped right inside the case. Just repeat for each blade. It's that easy—no mess, no fuss.
The beauty of this method is its sheer simplicity. By containing the dust from the get-go, you eliminate 99% of the post-cleaning mess, saving a ton of time and frustration.
This visual guide breaks down the core steps for an effective fan cleaning routine.
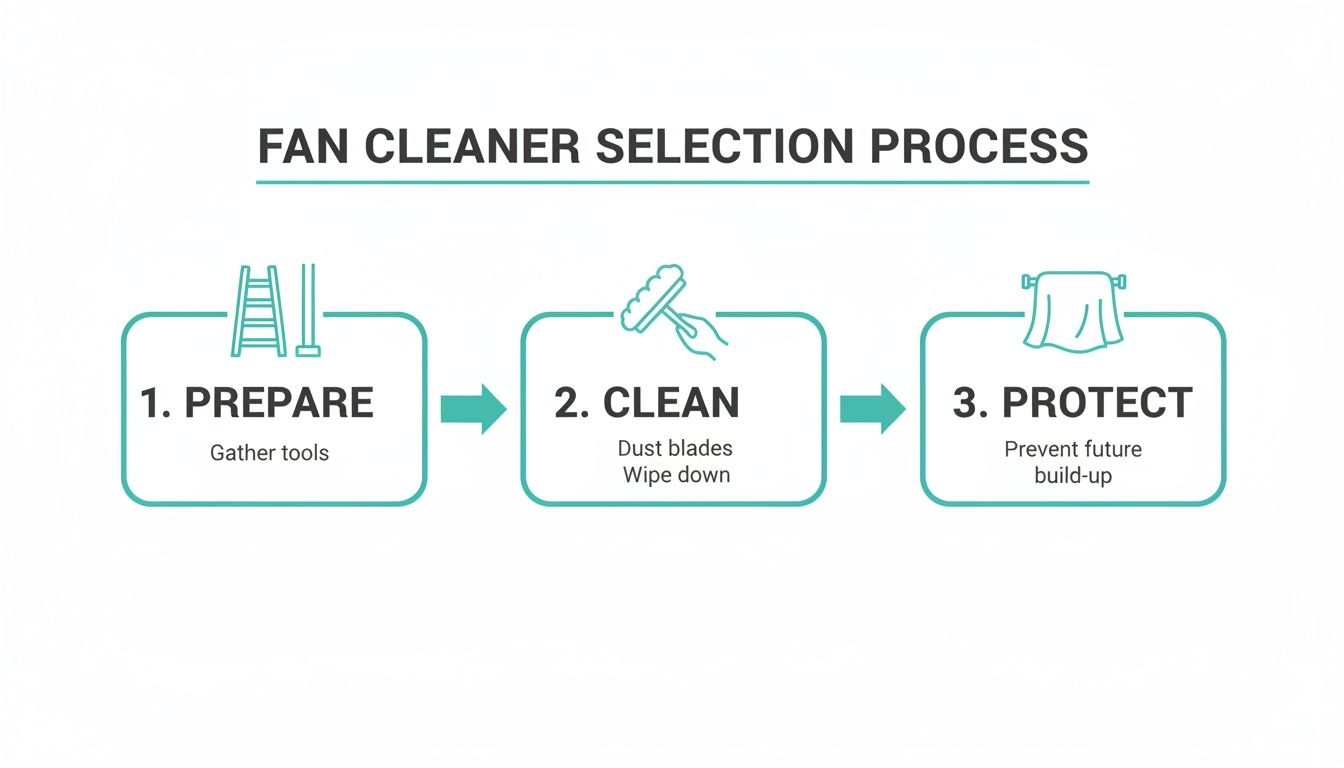
It’s all about a logical flow—prep, clean, and finish—to make sure you get a comprehensive clean without missing a spot.
Beyond the Blades: A Deeper Clean
Once the blades look pristine, don't pack up your ladder just yet. The motor housing and light fixtures are magnets for dust, too. For these parts, a damp microfiber cloth is your best friend.
If you’re cleaning a fan in a kitchen, you might notice a greasy film mixed in with the dust. In that case, a premium cleaning tool can make a huge difference. While not a typical "ceiling fan cleaner," a high-end cleaning accessory kit can work wonders. For example, some specialized vacuum attachments, though often priced over $300, come with scratch-free, soft-bristled tools perfect for gently loosening dust from the motor housing's intricate vents without causing damage. It helps you get into every nook and cranny for a truly professional finish.
- Motor Housing: Gently wipe down the whole surface. Pay extra attention to any vents where dust can build up, restrict airflow, and put a strain on the motor.
- Light Fixtures: If your fan has lights, carefully twist off the glass shades. Give them a good wash in warm, soapy water, dry them completely, and then pop them back on.
- Pull Chains: Don’t forget the pull chains! They get touched all the time and can get surprisingly grimy. A quick wipe with your all-purpose cleaner is all they need.
For those extra-high fans, like in rooms with vaulted ceilings, the job can feel pretty daunting and even a little risky. If you're not comfortable on a tall ladder, it might be time to call in the pros. Enlisting professional high dusting services ensures the job gets done safely and thoroughly. They have the right equipment and experience to handle jobs that are out of reach for most of us, guaranteeing a perfect result without you having to risk your neck.
Advanced Maintenance and Pro-Level Tips
A truly clean ceiling fan is more than just dust-free—it's a quiet, perfectly balanced, and efficient machine. Once you’ve gotten the hang of using a ceiling fan cleaner on the blades, it’s time to graduate to the pro-level details that keep your fan running flawlessly for years. This is where you transform a simple cleaning day into a full-on seasonal maintenance check.
This deeper level of care starts with tackling those annoying rattles and wobbles that can drive you crazy. These issues usually come from tiny imbalances that build up over time.
From Wobbles to Whispers
The number one culprit behind a shaky fan? Nine times out of ten, it's loose blade screws. As the fan runs, those constant vibrations can slowly loosen the hardware connecting the blade irons (the metal arms) to the blades and the motor. Grab a screwdriver and take a moment to gently tighten every visible screw. You’d be surprised how often this simple fix restores a perfect, quiet spin.
If tightening the screws doesn't solve it, the fan might need to be rebalanced. A simple fan balancing kit, which you can find at just about any hardware store, is an incredibly easy and effective tool. These kits usually come with a plastic clip and a few small, adhesive-backed weights. If you need a more detailed walkthrough, you can check out our guide on how to balance a ceiling fan to get it done in just a few minutes.
A wobbly fan isn't just a noisy annoyance; it puts unnecessary strain on the motor. Balancing your fan can significantly extend its lifespan and prevent more serious mechanical issues down the road.
Beyond the blades, the motor itself needs a little TLC. See those vents on the motor housing? They’re crucial for letting heat escape. When they get clogged with dust, the motor can overheat, which kills its efficiency and shortens its lifespan. A quick blast from a can of compressed air or a once-over with the soft brush attachment on your vacuum will clear those vents right out.
Seasonal Direction and Smart Design
Here’s another pro tip: sync your cleaning schedule with the changing seasons by reversing your fan's direction. Most fans have a small switch on the motor housing that handles this.
- Summer: The blades should spin counter-clockwise. This pushes cool air straight down, creating that refreshing breeze we all love.
- Winter: Switch the direction to clockwise. This motion pulls cool air up, circulating the warmer air that naturally rises and gets trapped near the ceiling. It’s a great way to help heat your room more efficiently.
This simple adjustment turns your ceiling fan into a year-round energy-saving powerhouse. Fans are a major appliance in homes across the globe, and maintenance practices have to adapt to different climates where they might run constantly. You can explore more data on global ceiling fan market trends from Fortune Business Insights to see just how critical these adjustments are.
Of course, the fan's design can make all this maintenance a total breeze. A premium model like the Minka-Aire F853L-BN/SL Artemis IV, which retails for over $700, is engineered for both performance and easy upkeep. Its sleek, aerodynamic blades have almost no crevices for dust to settle in, making a quick wipe-down incredibly effective and turning "advanced maintenance" into a simple task.
Building a Simple Year-Round Cleaning Schedule
The secret to never facing a massive, dust-caked fan-cleaning project is to simply not let it become one. Consistency is everything. If you build a simple, year-round schedule, you can keep your fan running beautifully and your home’s air quality high without ever dedicating an entire Saturday to the chore.
Think of it this way: a quick dusting every month or two prevents the heavy, sticky buildup that requires serious scrubbing. This proactive approach saves you a ton of time and effort down the road. The goal is to fold fan care into your existing cleaning routine so it feels less like a special project and more like a quick, satisfying task.
Tailoring Your Cleaning Frequency
Not every home is the same, so not every fan needs the same cleaning schedule. The right frequency for you really depends on your specific environment. A fan in a rarely used guest room will need far less attention than one running 24/7 in a living room with pets and open windows.
A few things will help you decide when it's time to break out your ceiling fan cleaner:
- Pets in the Home: Got furry friends? You'll probably want to dust your fan blades at least once a month. Pet dander is incredibly light and circulates easily, making your fan a prime collection spot.
- Allergies or Asthma: For households where someone has respiratory sensitivities, a bi-weekly or monthly dusting is non-negotiable. This simple step keeps airborne irritants from being constantly redistributed around the room.
- High-Pollen Areas: During peak pollen seasons (hello, spring!), a more frequent cleaning will stop your fan from blasting allergens everywhere every time you turn it on.
- Kitchen Fans: These fans are notorious for collecting a sticky mixture of dust and grease. A monthly wipe-down is a good rule of thumb to prevent stubborn, gunky buildup.
Below is a quick guide to help you set a schedule that makes sense for your home.
Recommended Ceiling Fan Cleaning Schedule
This table offers a general guideline for how often you should give your ceiling fan some attention, based on common household factors.
| Household Factor | Light Dusting Frequency | Deep Cleaning Frequency |
|---|---|---|
| Average Household | Every 2-3 months | Every 6 months |
| Homes with Pets | Every month | Every 3-4 months |
| Allergy/Asthma Sufferers | Every 2-4 weeks | Every 2-3 months |
| Kitchen or Workshop Fans | Every month | Every 3 months |
Remember, this is just a starting point. If you see dust starting to accumulate, don't wait! A quick dusting now is always better than a deep scrub later.
A great habit to get into is to deep clean your fan whenever you reverse its direction for the season. This ensures it's ready for peak performance in both summer and winter. You can learn more in our article about how to reverse ceiling fan direction for optimal efficiency.
This kind of proactive maintenance is even easier with a fan that’s designed for it. For example, the Fanimation Kute 52-inch Fan, a sleek model priced over $400, has a minimalist design with smooth blades and very few crevices. That makes a quick dusting incredibly simple and effective. Investing in a fan that's easy to clean from the start makes sticking to a schedule feel almost effortless.
Tackling Common Ceiling Fan Cleaning Questions
Once you get into a cleaning rhythm, you'll probably run into a few of the same tricky questions we hear all the time. Let's clear the air on some of the most common ones.
Can I Just Spray Cleaner Directly on the Blades?
It’s tempting to spray and wipe, but hold off. For almost all painted or sealed fan blades, a slightly damp microfiber cloth is your best friend. Spraying liquids directly on the fan can send moisture into the motor vents or cause unsightly water spots. Worse, it could damage unsealed wood or cause certain metals to tarnish over time. Stick to a damp cloth for the best (and safest) results.
Help! My Fan Started Wobbling After I Cleaned It.
This is a classic—and thankfully, usually an easy fix. A new wobble almost always points to a balance issue. You might have accidentally bent a blade holder (also called a blade iron) while wiping it down, or maybe you nudged a small, built-in counterweight out of place.
First, turn the fan off at the wall switch or breaker. Gently check each blade iron to make sure it's not bent and that all blades are angled uniformly. Give any loose screws a quick tighten. If it's still wobbly, a simple fan balancing kit from a hardware store can restore perfect stability in just a few minutes.
- Check that all blades have the same tilt.
- Inspect the mounting brackets for any bends.
- Use the small adhesive weights from a balancing kit to fix any lingering imbalance.
What’s the Safest Way to Clean a Fan on a High Ceiling?
When you're dealing with vaulted or extra-high ceilings, your goal is to stay on the ground as much as possible. An extendable duster with a flexible microfiber head is the perfect tool for this job, letting you reach the blades without ever stepping on a ladder.
If you absolutely must climb, make sure you're using a sturdy A-frame ladder placed on solid, level ground. The biggest mistake people make is overreaching—always move the ladder rather than stretching out from it.
Are Premium Fans Actually Easier to Clean?
In our experience, yes. High-quality models from brands like Modern Forms or Fanimation are often designed with sleek, simple blades that have minimal crevices. Dust just doesn't have as many places to hide. While they come with a higher price tag—often $300+—they can save you a surprising amount of cleaning time over the years.
Troubleshooting Those Unexpected Cleaning Headaches
Every now and then, a simple cleaning job uncovers a bigger issue. If you're tackling a kitchen fan, you might find that a dry cloth just smears around a greasy film. In that case, you'll need to use a cloth lightly dampened with a mild soap and water solution before doing a final dry wipe.
Clogged motor vents are another common problem. If you notice dust bunnies choking the housing, a can of compressed air is the perfect way to clear out that debris without having to take anything apart.
A little bit of consistent care goes a long way. A quick dusting once a month will keep your fan running smoothly and cut your deep-cleaning time in half.
To make the whole process feel less like a chore, keep your cleaning kit ready to go. Having your gloves, goggles, and a stable ladder nearby means you can get started without any hassle. A quick checklist keeps you on track.
- Always cut the power at the breaker first. It’s a simple step for total peace of mind.
- Lay an old sheet or drop cloth on the floor below to catch the mess.
- Try the "pillowcase method" for a mess-free sweep of each blade.
- Wipe down the motor housing and pull chain with a dry microfiber cloth.
- Before you flip the power back on, do a final check for any loose screws or fasteners.
With these answers ready, you can handle pretty much anything your ceiling fan throws at you. A quick quarterly inspection of the wiring and vent covers doesn't hurt, either.
Explore premium ceiling fans from Fan Connection at https://www.fanandlights.com


