


Ceiling Fan Wiring Diagram With Remote Guide
When you pop open the box for a new remote-controlled ceiling fan, that little plastic receiver might look like a piece of alien technology. Don't let it intimidate you!
Think of the remote receiver as a cool, super-efficient middleman. Power flows from your ceiling box, makes a quick pit stop into the receiver first, and then the receiver sends the right signals out to the fan's motor and light kit. That's the secret sauce that lets your remote play conductor to your fan orchestra. Once you get that concept, the whole wiring process clicks into place, and you'll feel like an absolute pro.
Your Blueprint for Remote Control Fan Wiring
Wiring a fan with a remote is a project you can totally conquer. This guide is your complete blueprint, breaking down the job into simple, understandable chunks. We'll walk through the three key players you'll be working with: the fan itself, that slim remote receiver, and the existing wiring lurking in your ceiling. It's like a fun puzzle where all the pieces are designed to fit perfectly.
Getting a handle on how these parts communicate is the key to a flawless installation. We'll demystify the roles of the hot (black), neutral (white), and ground (green or bare copper) wires from your house. More importantly, we'll show you exactly how they connect to the receiver, giving you a clear mental map before you even touch a wire nut. Let's make this happen!
Core Components and Safety First
Before we start connecting wires and feeling like master electricians, it's a good idea to have a solid grasp of the fan's physical assembly. If you haven't put a fan together before, it's worth checking out a comprehensive guide to ceiling fan with light installation to get comfortable with the mounting and basic setup.
With the fan assembled and ready, our focus shifts to the electrical side. The process is pretty straightforward.
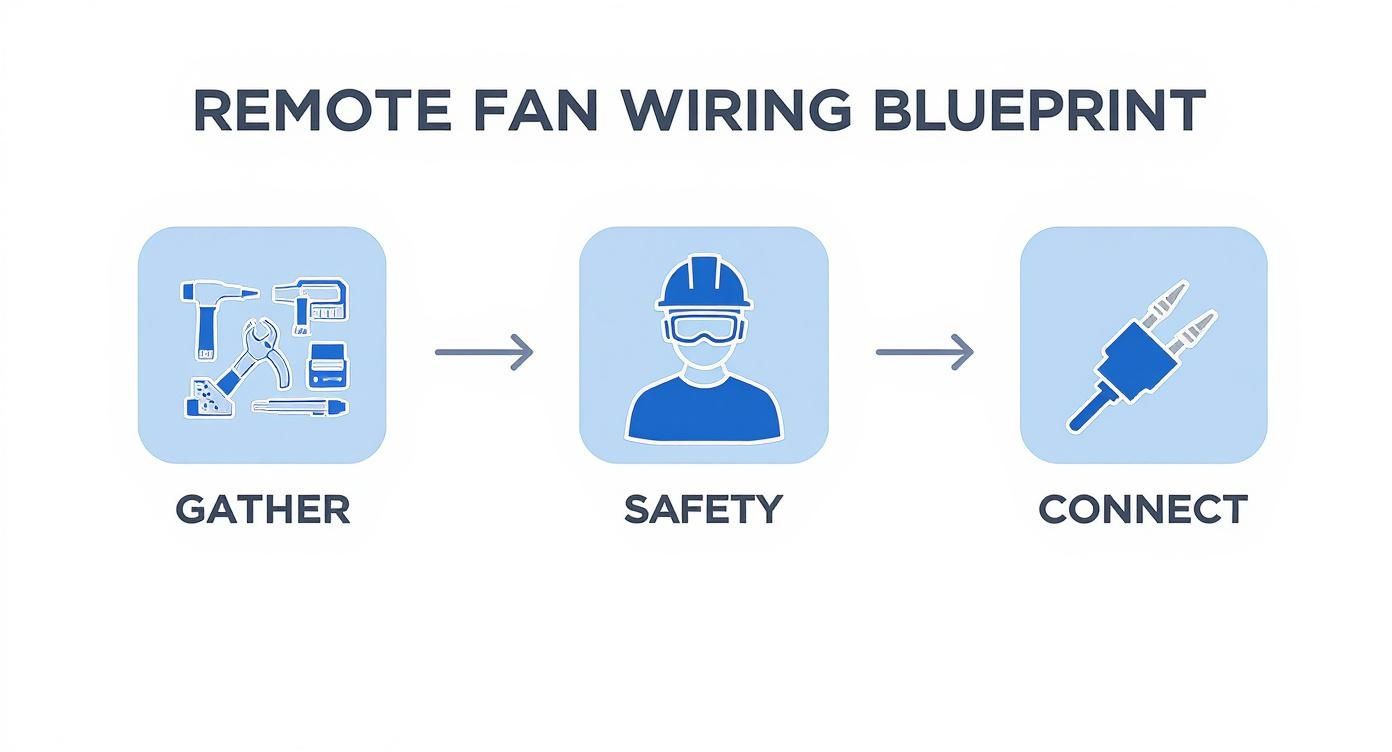
As you can see, a successful installation isn't just about twisting wires together. It all starts with having the right gear and making safety your number one priority from the get-go.
It's no surprise these fans are everywhere now. The global ceiling fan market is already valued at around $14.6 billion and is expected to more than double to $31.6 billion by 2035. A huge part of that growth comes from the sheer convenience of remote controls and smart tech, with adoption in North America alone jumping by 15% every year. You're not just installing a fan; you're joining a movement!
Get the Right Tools and Gear
Before you ascend that ladder, take a few minutes to gather your arsenal. Fumbling for a tool mid-installation is frustrating and a recipe for disaster. Here’s a quick checklist to make sure you're prepared for victory.
Essential Tools and Safety Gear Checklist
| Item Category | Specific Tools/Gear | Purpose |
|---|---|---|
| Safety Gear | Safety Glasses, Voltage Tester, Sturdy Ladder | Protect your eyes, confirm power is off (seriously, double-check!), and ensure a stable work platform. |
| Hand Tools | Screwdrivers (Phillips & Flathead), Wire Strippers/Cutters | For mounting the bracket, fan blades, and preparing wires for connection. |
| Connection Tools | Wire Nuts (various sizes) | To securely connect the wires from the ceiling, receiver, and fan. |
| Optional but Helpful | Pliers (Needle-Nose), Flashlight or Headlamp | For gripping wires in tight spaces and providing extra light in the ceiling box. |
Having these items within arm's reach will make the entire process smoother and, most importantly, safer.
It's the Same Logic for High-End Fans
The great thing is, once you understand this wiring process, you can apply it to just about any fan. This knowledge isn't just for a standard model; it applies directly to those premium, designer smart fans that make you feel like you're living in the future.
Take a high-end model like the Modern Forms Wynd 72 in. LED Smart Ceiling Fan (priced at $899). It has all the bells and whistles—app control, smart home integration—but at its core, the installation still follows these same fundamental wiring principles. You've got this!
The real goal here is to empower you by explaining the 'why' behind each connection. When you understand that the receiver is just a smart switch that lives in the fan canopy, the entire process becomes far more intuitive and less daunting.
Alright, let's get into the most common setup you're going to see: a single wall switch controlling the power to the ceiling box. This is the standard in most homes, and the good news is, it's the easiest scenario for wiring in a remote control receiver.
The whole game plan is to take the power coming from the ceiling, run it through the new receiver, and then send the specific commands out to the fan and light.
Think of the receiver as the new command center for your fan. The wall switch used to be a simple on/off. Now, that switch becomes the main power cut-off, while the receiver inside the fan canopy handles all the detailed work—turning the fan on, dimming the light, or changing speeds. This is where your ceiling fan wiring diagram with remote becomes your best friend.
When you wire it this way, the remote receiver always has power (as long as the wall switch is on), so it’s always ready to receive a command from you.
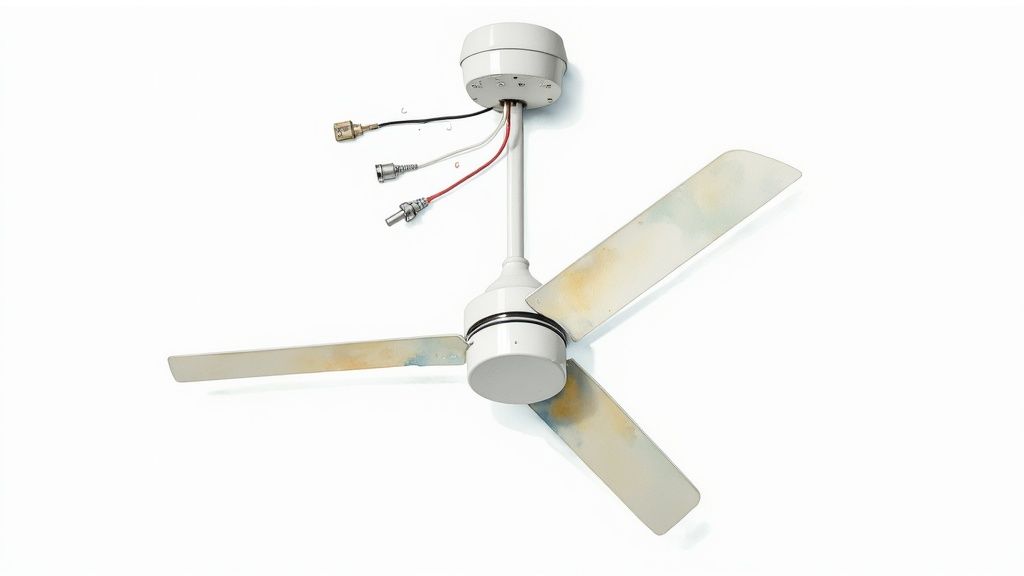
Getting to Know Your Ceiling Wires
Okay, first step—and it's a non-negotiable one—is to kill the power at the circuit breaker. Once you've double-checked with a voltage tester that it's truly off, take a look inside the ceiling electrical box. You should find a few wires. Let’s break down what they do.
- The Hot Wire (Usually Black): This is the live wire carrying power from your wall switch.
- The Neutral Wire (Usually White): This wire completes the circuit, giving the electricity a path back to the panel. Your receiver needs this to function.
- The Ground Wire (Green or Bare Copper): This is your safety net. It gives any stray electricity a safe path to the ground, preventing shocks.
These three wires from the ceiling are what you'll connect to the "AC IN" side of your remote receiver. They're the power source for the whole operation.
Connecting Power into the Receiver
Once you've got your house wires identified, it's time to connect them to the input side of the remote receiver. The receiver itself will have wires clearly labeled for this.
It's a straightforward matchup: connect the black house wire to the black "AC IN" wire on the receiver. Do the same for the neutral wires, connecting the white house wire to the white "AC IN" wire on the receiver. Use the wire nuts that came with the fan and give them a gentle tug to make sure the connection is solid.
Pro Tip: Before you twist the wire nuts on, make sure the copper ends of the wires are straight and even. A clean, tight connection here will save you from a lot of troubleshooting headaches down the road.
The ground wires all get connected together. You’ll twist the green or bare copper wire from the ceiling, the green wire from the fan's mounting bracket, and the green wire from the fan itself into a single wire nut. This ensures the entire fan is properly and safely grounded.
Wiring the Fan from the Receiver's Output
Now you're ready to connect the receiver's output wires to the fan. Your receiver will have separate, labeled wires for the motor and the light kit.
- A Blue Wire: This is marked "FOR LIGHT" and connects to the fan's light kit wire (usually also blue, or sometimes black with a white stripe).
- A Black Wire: This one is labeled "TO MOTOR" and hooks up to the fan's motor wire (almost always black).
- A White Wire: This is the shared neutral, which connects to the remaining white wire coming from the fan.
Match them up, secure them with wire nuts, and that’s it—your remote is officially wired. The receiver now sits right between your home's power supply and your fan's components, ready to translate your button presses into action. If you want to dig deeper into the switch side of things, our guide on how to wire a ceiling fan switch offers some great additional info.
The final, and sometimes trickiest, part is neatly tucking the receiver and all that wiring up into the mounting bracket or canopy. Don't rush this. Carefully arrange the wires so nothing gets pinched or stressed when you close it all up. A little patience here makes for a clean-looking installation that will be safe and reliable for years to come.
Tackling a Dual Switch Fan Installation
Walking into a room and seeing two wall switches for one ceiling fixture can seem like a more complicated wiring puzzle. This dual-switch setup is pretty common, especially in newer homes where separate controls for a fan and light were planned from the start. It's great for a standard fixture, but it requires a specific game plan when you're adding a modern remote control into the mix.
The whole issue boils down to this: your new remote receiver is designed to be the single point of command for both the fan and the light. It just needs one steady supply of power to work its magic. A dual-switch setup, on the other hand, sends two separate "hot" feeds to the ceiling box, which is a recipe for confusing the receiver.
Our job is to simplify this setup by reconfiguring the wiring to feed that receiver correctly. This way, your remote can take full command without getting conflicting signals from the wall.
Identifying Your Two Hot Wires
First things first: kill the power at the breaker and double-check that it's off with a voltage tester. Once you open up the ceiling box, you'll see a few more wires than you would in a single-switch situation. Typically, you'll find:
- Two Hot Wires: Usually, these are both black, but it's not uncommon to see one black and one red. Each one leads to its own wall switch.
- One Neutral Wire: This will be your white wire.
- One Ground Wire: This will be green or bare copper.
To create a proper ceiling fan wiring diagram with remote, you have to know which wire is which. Those two hot wires are the key players we need to wrangle.
The Game Plan: Reconfiguring for Constant Power
The secret to wiring a dual-switch setup for a remote is surprisingly simple. You just need to pick one of the hot wires to provide constant power to the receiver and then safely disable the other one. In short, you’re turning your dual-switch box into a single-power-source box, which is exactly what the remote receiver is looking for.
Here’s the new connection map:
- Choose one hot wire (let's say it's the black one) to be your dedicated power source. This will connect to the receiver's black "AC IN" wire.
- Cap the second hot wire (the red one, for this example) with a wire nut. This wire is now out of the game. Just tuck it safely back into the electrical box. It's completely inactive.
- Connect the neutral and ground wires just like you would in any other installation. The white house wire connects to the white "AC IN" on the receiver, and all the ground wires (from the ceiling, bracket, and fan) get twisted together.
By doing this, you've streamlined the power flow. You've essentially told the system, "Ignore that second switch and send all power through this one main channel." Now the remote receiver can do its job without any confusion.
The wiring from the receiver out to the fan doesn't change: blue wire to the light, black wire to the motor, and the white wire to the fan's neutral.
The New Role of Your Wall Switches
So what about those two switches on the wall? The switch connected to the hot wire you used is now the master power switch for the entire fan unit. The other switch, the one connected to the wire you capped off, now does absolutely nothing.
For a cleaner look, you could replace the dual switch with a single switch. Or, you can just leave the second switch in the "off" position forever. Your remote control is now in charge of everything—fan speed, light on/off, and dimming. The wall switch is just a master cutoff, which is perfect for when you leave the room or head out on vacation.
This is also a great opportunity to pair your slick new wiring with a premium fan. For large spaces, the Minka-Aire F896-84-BNW Xtreme H2O 84" Ceiling Fan, which runs around $500, is a fantastic choice. Its powerful DC motor and simple remote functionality are a perfect match for this reconfigured setup, giving you effortless control over a high-performance fan. An investment in a quality model ensures your clean wiring job is matched by lasting performance.
Tricky Wiring Situations and Troubleshooting Your Remote
Not every installation is a textbook case. You pop off the old light fixture, ready to go, and find a mess of wires that looks nothing like the diagram. It happens all the time, especially in older homes, but even new builds can throw you a curveball. This is where a little know-how makes all the difference.
We're going to walk through some of the tougher scenarios you might run into, from dealing with vintage wiring to figuring out why that brand-new remote isn't doing anything. Think of this as your advanced field guide. Once you understand these common hang-ups, you'll be able to solve just about any problem and get your fan spinning with confidence.
The Case of the Missing Neutral Wire
One of the most frequent headaches, particularly in homes built before the 1980s, is the missing neutral wire. You might open up the ceiling box and find a black hot wire and a white wire that’s also hot (this is called a "switch loop"). There's no dedicated neutral wire to complete the circuit for your new remote receiver.
Since modern receivers absolutely need a neutral wire to power themselves, this discovery can bring your project to a screeching halt. So, what can you do?
- Run a New Wire: This is the most "correct" fix, but it's also the most involved. An electrician can run a new 14/3 or 12/3 wire from the switch to the ceiling box, giving you the dedicated neutral you need.
- Look for a "No Neutral" Kit: Some smart fan control systems are built to work without a neutral wire at the switch, but they often require a special module to be installed up in the fan's canopy.
- Ditch the Remote: If running new wire just isn't in the cards, you may have to skip the remote receiver. You can still wire the fan directly to be controlled by the good old-fashioned pull chains.
This issue really shines a light on how much home tech has changed. The demand for remote-controlled ceiling fans has skyrocketed, thanks to the push for smart homes and better energy efficiency. The global ceiling fan market, valued at $13.06 billion, is expected to climb to $18.90 billion by 2033. A huge part of that growth comes from these advanced models, which makes understanding even the tricky wiring scenarios more important than ever.
Getting Your Remote Control to Cooperate
Alright, you've finished the wiring, flipped the breaker back on, and… nothing. Or maybe just the light comes on, but the fan won't spin. Don't worry. Remote control issues are incredibly common and usually simple to fix. Before you start unscrewing everything, run through this quick checklist.
- Check the Batteries: I know, it sounds too simple. But it’s the #1 culprit. Make sure the batteries in the remote are fresh and put in the right way.
- Confirm Power is ON: Is the wall switch that sends power to the fan in the "ON" position? The receiver needs a constant supply of electricity to listen for the remote's signal.
- Match the DIP Switches: Look inside the remote's battery compartment and on the receiver itself. You'll likely see a small bank of tiny switches called DIP switches. These set the frequency, and they have to match perfectly. If your neighbor has a similar fan, their remote could be interfering with yours. Just pick a new combination on both your remote and receiver to solve it.
If you’ve tried all the basics and are still stuck, it might be time to look into other options. There's a chance the remote or the receiver itself is faulty. For a deeper dive, check out our guide on troubleshooting and finding a replacement fan remote control.
Nothing is more frustrating than a remote that won't respond. Let's break down the most common issues in a quick-reference table.
Common Remote Fan Issues and Solutions
| Symptom | Potential Cause | Solution |
|---|---|---|
| Nothing works | No power to receiver or dead remote batteries. | Flip the wall switch ON, check the breaker, and install fresh batteries in the remote. |
| Fan or Light works, but not both | Loose wire connection to the faulty component. | Turn off power and double-check the blue (light) and black (fan) wire connections. |
| Fan operates randomly | Signal interference from a neighbor's remote. | Change the DIP switch combination on both the receiver and the remote. |
| Functions are mixed up | Wires are crossed between the receiver and fan. | Verify the receiver's "TO MOTOR L" wire is connected to the fan's light wire (blue). |
| Remote only works up close | Weak remote batteries or antenna issue. | Replace batteries first. If that fails, ensure the receiver's antenna wire is not tangled or touching metal. |
With these solutions in your back pocket, you should be able to sort out most remote-related hiccups without breaking a sweat.
When a Premium Fan Is the Smartest Fix
Sometimes, the best way to solve a complex wiring problem is to sidestep it entirely with smarter technology. This is where investing in a high-end smart fan can really pay off, especially if you value convenience and a clean, modern setup.
Take the Modern Forms Wynd Smart Ceiling Fan, for example. It's a premium model that often sells for over $700. While that's a serious price tag, what you're really buying is a solution. This fan connects directly to your Wi-Fi and integrates with smart home systems like Alexa, Google Assistant, and Samsung SmartThings, which often simplifies the whole control scheme.
Instead of being locked into a proprietary remote, you can control everything through an app or with your voice. This means you can just make sure the fan has constant power from the switch and then manage all its functions digitally, completely bypassing problems with dual-switch setups or tricky remote pairing. For a tech-savvy homeowner, the investment eliminates wiring headaches and delivers a genuinely effortless experience. The Wynd isn't just a fan; it's an integrated piece of home tech that makes complex control feel simple.
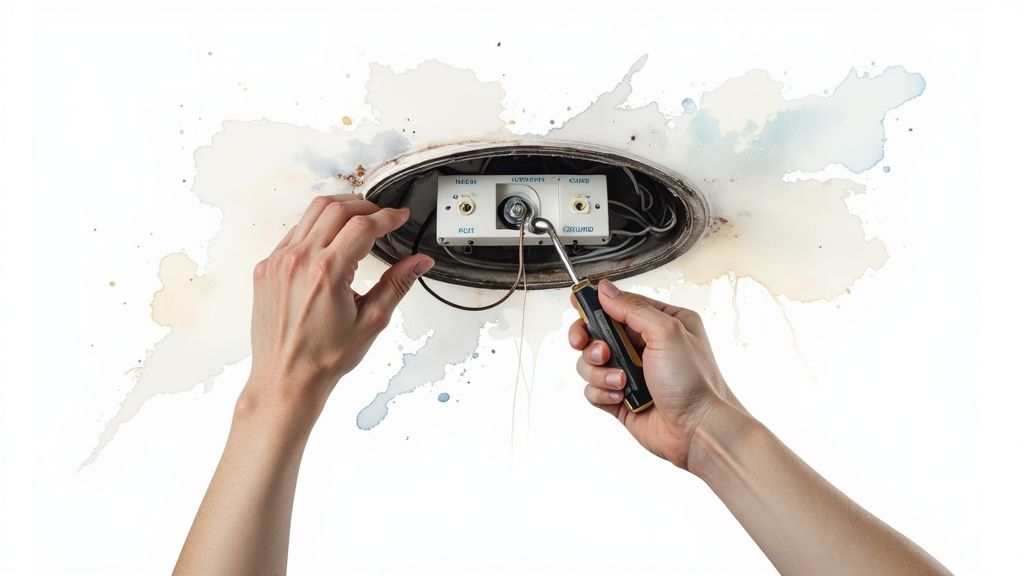
Final Safety Checks and Pro Tips
Don't be tempted to call it a day just because the last wire nut is on. Before you flip that breaker back on, a few final checks are what separates a good installation from a great one. This is the last mile, and it ensures your fan is safe, quiet, and ready for years of service.
The very first thing to do is a simple physical check. Give the fan a gentle tug. Is it rock solid? It should be. There should be absolutely zero wobble or play where the mounting bracket meets the ceiling box. While you're up there, peek at the canopy and make sure no wires are getting pinched between it and the ceiling. A pinched wire is a serious fire hazard waiting to happen.
Powering Up and Testing Your Remote
Once you’re satisfied with the physical install, it’s time to bring your new fan to life. Head back to your breaker box and flip the power on for that circuit. Now for the fun part—grab the remote and put it through its paces.
- Test Fan Speeds: Run through every speed setting, from the lowest to the highest. Listen carefully for any odd humming, clicking, or scraping sounds.
- Test the Light: Turn the light on and off. If it has a dimmer, make sure you can go from the brightest setting all the way down to the dimmest without any flickering.
- Test the Reverse Function: Hit the reverse button. You should see the blades stop and then start spinning in the opposite direction.
This quick rundown confirms all your wiring is correct and that the remote receiver is doing its job perfectly.
Pro Tips for Long-Term Performance
Getting the fan to spin is one thing, but making sure it works perfectly is another. A few extra details now will save you from future annoyances like a wobbly fan or a room that never feels quite right in the winter.
Balancing for Silent Operation
Even a brand-new, perfectly installed fan can have a slight wobble if the blades are just a tiny bit out of balance. Most fans include a balancing kit for this very reason. If you spot any wobble, don't ignore it. Use the clip and weights from the kit to get it running smoothly. It's a simple trial-and-error process that pays off with whisper-quiet operation.
Pairing and Seasonal Direction
If the remote isn't responding at all, it probably just needs to be paired. The instructions will walk you through it, but it usually involves holding a button on the remote within a few seconds of restoring power to the fan.
And don't forget to set the fan's direction for the season. It makes a huge difference.
- Summer: You want the blades spinning counter-clockwise. This pushes air straight down, creating a cool breeze.
- Winter: Flip it to clockwise. This pulls cool air up and pushes the warm air that's trapped near the ceiling down along the walls, making the room feel warmer.
That simple seasonal adjustment can have a real impact on your comfort and your energy bills. This kind of efficiency is a big reason remote-controlled fans are becoming so popular. In Europe, the market has seen 10% annual growth, with over 30% of new installs featuring smart or remote tech, largely driven by energy savings.
The final safety check is your last chance to catch small mistakes before they become big problems. A securely mounted, well-balanced fan isn't just quieter—it's safer. Taking these extra 15 minutes provides peace of mind that the job was done right.
As you wrap up, it's also a good time to understand if a home electrical panel upgrade is necessary, especially in an older home. If you've just installed a powerful, high-end model like the Fanimation Kute 52 in. Ceiling Fan (around $450), you want to be certain your panel can handle the load. A fan that good deserves a solid electrical foundation to perform its best.
Frequently Asked Questions
Even with the best guide in hand, a few questions always seem to crop up mid-installation. It happens to everyone. Here are some quick, practical answers to the most common puzzles you might run into when working on your ceiling fan wiring diagram with remote.
Can I Use the Old Wall Dimmer with My New Remote Fan?
This is a fantastic question, and the answer is a hard no. Your new remote-controlled fan is designed to get a full, steady stream of power. The remote's receiver is the brains of the operation now—it handles all the dimming and speed controls internally.
When you leave a wall dimmer in the circuit, you're sending a choppy, fluctuating voltage to that receiver. This really messes with the electronics and can lead to a ton of issues:
- A seriously annoying hum from the fan's motor.
- Flickering lights that will drive you crazy.
- Permanent damage to the receiver over time, which will kill your remote's functionality for good.
The fix is simple: always swap out an old wall dimmer for a standard on/off toggle switch. This guarantees your fan gets the clean power it needs to work properly.
Why Won't My Fan and Remote Pair Correctly?
Pairing problems are super common, but thankfully, they’re usually an easy fix. The number one culprit is a mismatch in the DIP switches. Those are the tiny little switches you'll find on both the receiver and inside the remote's battery compartment. For them to talk to each other, they must be set to the exact same pattern.
If you've double-checked the DIP switches and it's still not working, timing is almost always the next problem. Most fans give you a short window—usually 30 to 60 seconds—to press the "pair" button on the remote right after you turn the power back on at the breaker. Miss that window, and the receiver stops listening.
Just flip the power off and on again at the breaker to get another shot at it.
What if My Fan Wobbles After Installation?
A wobbly fan isn't just distracting; it's a clear sign that something is mechanically out of balance. Don't panic, though. Before you start thinking it's a huge issue, run through these simple checks.
First off, make sure every single screw is tight. That means the screws holding the blades to the blade irons, and the screws attaching the blade irons to the motor. Just one loose screw can create a surprisingly big wobble once the fan gets up to speed.
If everything's snug, the problem is likely blade balance. Your fan should have come with a little balancing kit. Use the plastic clip to test each blade until you find the one causing the wobble, then stick the adhesive weights on top of that blade until it runs smoothly.
A common mistake I see is people overtightening the screws on the electrical box, which can slightly warp the mounting bracket. That bracket needs to be perfectly level for a stable fan. Always double-check it with a small level before you hang the fan itself.
Can I Install a Remote on an Old Pull-Chain Fan?
You absolutely can. It's a great way to modernize an older fan. You can add a remote to almost any existing pull-chain fan by grabbing a universal remote control kit. These kits include a receiver that you wire between your house wiring and the fan's wiring, just like we’ve been talking about.
Before you get started, make sure to set the fan’s pull chains to their highest speed and turn the light on. Once the receiver is installed, it takes over, and you can just leave the pull chains in that "on" position forever.
Pairing a universal remote with a classic, durable fan is a fantastic project. A model like the Hunter Key Biscayne 54 in. Weathered Zinc Ceiling Fan, which runs around $329, is a perfect candidate. Its timeless design and solid construction make it a great fan to upgrade with today's remote-control convenience.
At Fan Connection, we believe finding the perfect fan should be simple and inspiring. Explore our curated collections to discover a fan that not only moves air but also elevates your space. Visit us at https://www.fanandlights.com to find your perfect match.


