


Fix Your Fan with a Replacement Fan Remote Control
When your ceiling fan remote decides to take an unscheduled vacation, the sudden silence—and stillness—can be surprisingly aggravating. But don't sweat it! Getting a replacement fan remote control is usually a simple fix. You just need to know what you're looking for, and you'll be back to effortless, breezy climate control in no time. It's time to reclaim your throne as the master of your own airflow!
Figuring Out Your Fan's Control System
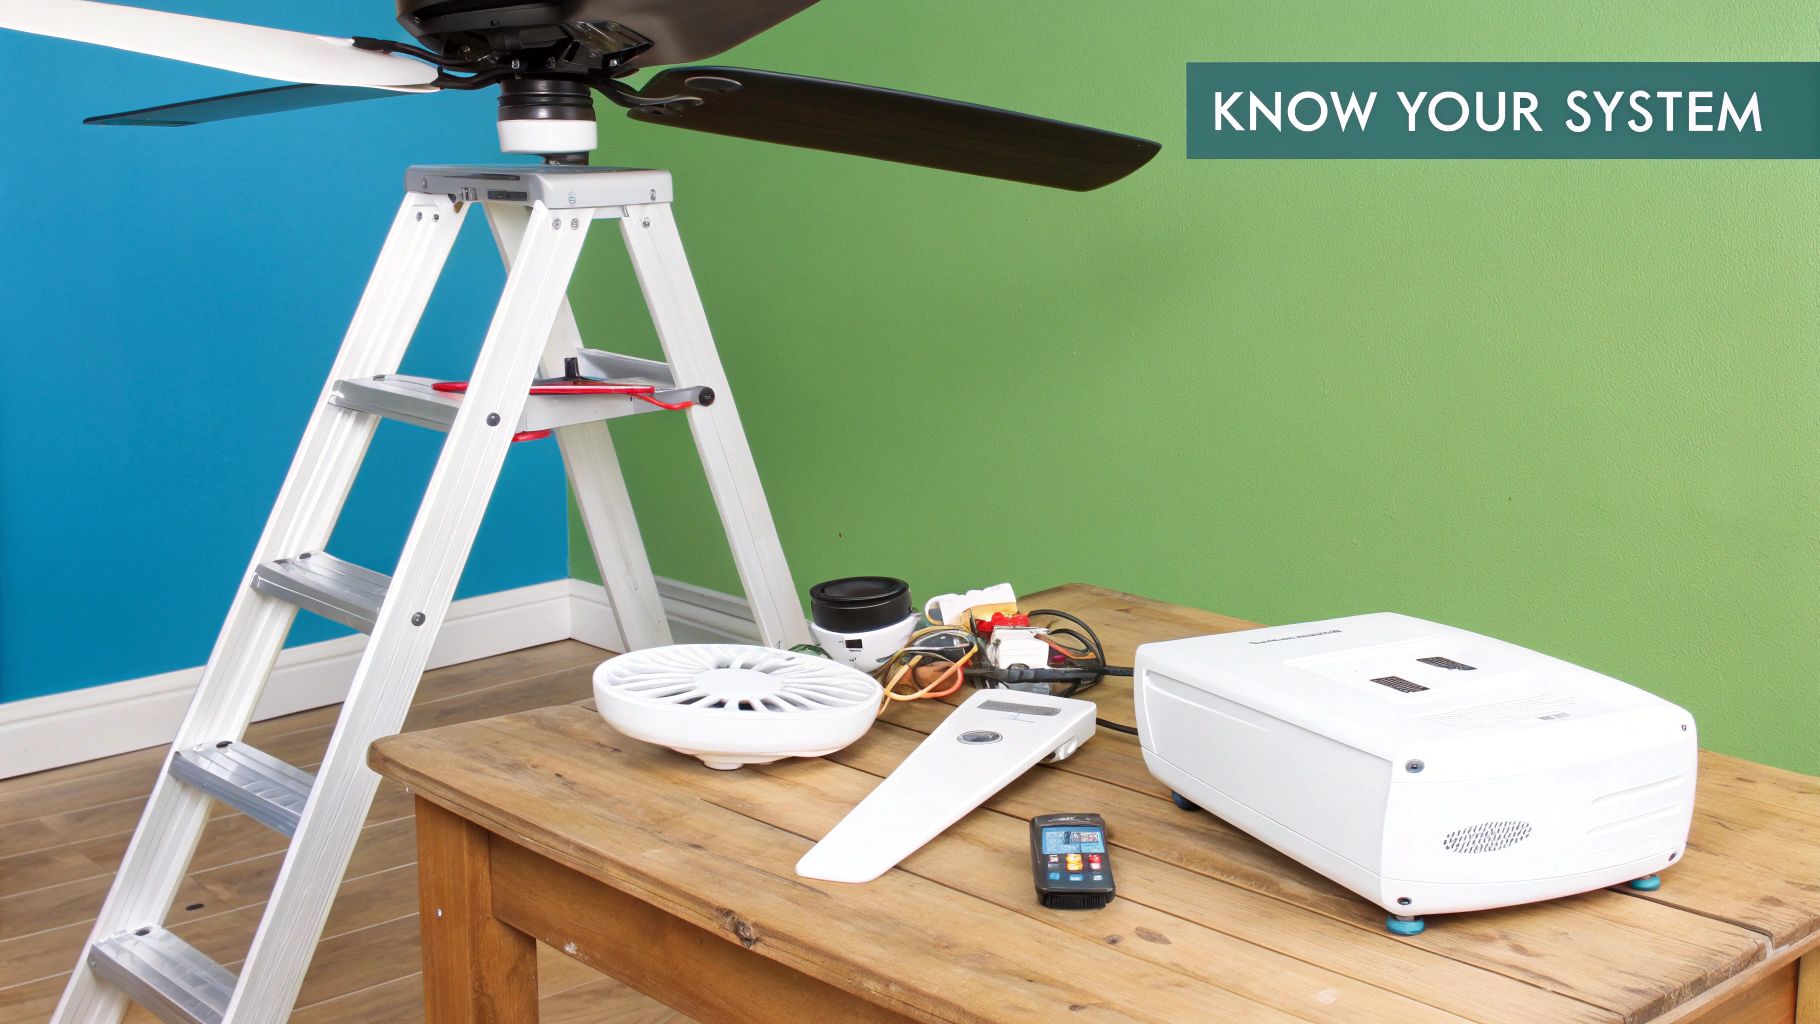
That little plastic wand of power in your hand is only one half of the equation. The real brains of the operation is the receiver, a small black box that’s usually tucked away inside the fan's canopy, hiding right up against the ceiling. The remote just sends out a hopeful signal; it’s the receiver that actually catches it and tells the fan what to do—switch speeds, flick on the light, or go in reverse.
This little remote-and-receiver team is why a dead remote isn't always just a battery problem. If you’ve swapped in fresh batteries and are still getting the silent treatment, the receiver is likely the culprit. Getting a handle on how this dynamic duo works is the first step to becoming a fan repair guru.
If you want to get more familiar with all the parts of your fan, our guide on how to install a ceiling fan is a great place to start.
OEM vs. Universal Kits: What’s the Right Call?
When you start shopping, you’ll find two main choices for getting your fan back up and running:
- Brand-Specific (OEM) Remotes: These are the original parts made by your fan’s manufacturer. They’re designed to be a perfect match for the receiver already in your fan, making for a super simple, plug-and-play fix.
- Universal Remote Kits: These kits are the swiss army knife of fan repair. They come with a new remote and a new receiver that are guaranteed to talk to each other. This is your best bet if you can’t track down an original remote or if you think your receiver is toast.
RF vs. IR: How Your Remote Talks to the Fan
Another piece of the puzzle is how the remote actually communicates with the receiver. Most ceiling fans these days use Radio Frequency (RF) signals. The big advantage here is that RF can go through walls, so you don’t need to be aiming the remote right at the fan for it to work. Convenience is king!
Some older or more basic models might use Infrared (IR), which is the same technology your TV remote uses. It’s reliable, but it requires a direct line of sight to the receiver.
The remote control market is huge—there are over 2.9 billion units being used across the globe. And while IR remotes made up about 52% of sales in 2023, RF is catching up fast, especially for home fixtures like ceiling fans where you want to change the speed from another room.
Our Pro Tip: The receiver inside your fan's canopy is just as important as the remote in your hand. If one part fails, it often makes the most sense to just replace both with a universal kit. It saves you the headache and ensures everything is perfectly compatible from the get-go.
Of course, if you're looking for a serious upgrade, you could ditch the traditional remote altogether. High-end smart fan systems, like those from Modern Forms or Minka-Aire, offer a completely integrated experience. These setups, which often start well above $300, connect to your Wi-Fi and let you control everything from a smartphone app or with voice commands through assistants like Alexa. It’s the ultimate step up from a simple replacement fan remote control, turning your fan into a seamless, voice-activated part of your smart home.
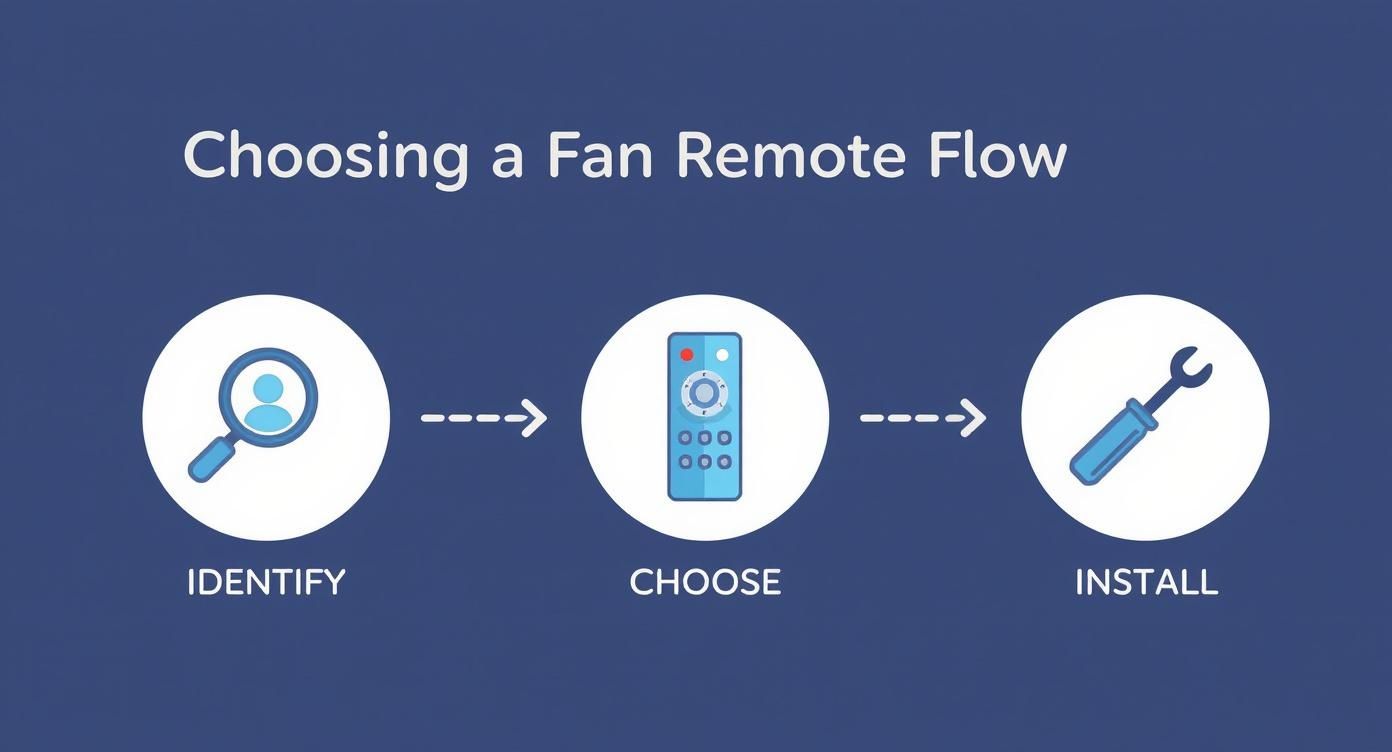
How to Select the Right Replacement Remote
Picking out a new remote for your ceiling fan can feel a bit like detective work, but it’s actually more straightforward than you might think. You’re not just guessing—you’re matching up the right technology. The goal is simple: find the key identifiers on your existing fan and receiver so you can buy a replacement that works right out of the box.
The first clue is almost always on the fan itself. Take a look at the top of the motor housing for a sticker. This is where you'll usually find the manufacturer's name and, most importantly, the fan's model number. Jot this down, because it’s the clearest path to finding a direct OEM replacement.
Going a Little Deeper Into the Canopy
If you can't find a model number on the motor, no problem. The next stop is the receiver. But before you do anything else, go to your circuit breaker and shut off the power to that room. Safety is the top priority here, and there are no shortcuts. Don't be a hero—be a safe hero.
Once you're sure the power is off, you can gently lower the fan's canopy—that's the decorative cone that sits flush against the ceiling, hiding all the wiring. Tucked inside, you'll find the receiver. Look for a part number printed on it. This number is your golden ticket, as it directly corresponds to the remote you need.
While you're in there, check for DIP switches. These are tiny, numbered switches that you’ll see on the receiver and inside the battery compartment of your old remote. The specific on/off pattern they’re set to creates a unique frequency, which is what stops your remote from turning on your neighbor's fan. If you're buying an identical replacement remote, you'll need to set the new switches to match this exact pattern.
An interesting thing to consider is that a broken remote is a perfect excuse for an upgrade. We're seeing a huge shift toward smarter home solutions, and the demand for automated, energy-saving fans is driving a lot of innovation. This is a great time to explore how new IoT technologies are being built into modern fans to make them more convenient and efficient.
Comparing Your Replacement Options
With your fan's info in hand, you've got a decision to make. Do you hunt down the exact original remote, or is it time to go with a universal kit? Both are great options, but they serve different needs.
This table breaks down the differences between an OEM remote and a Universal Kit to help you decide which solution best fits your needs and technical comfort level.
Comparing Your Replacement Options
| Feature | OEM Replacement Remote | Universal Remote & Receiver Kit |
|---|---|---|
| Installation | Simple. Just match DIP switches and add batteries. No wiring. | Requires wiring a new receiver into the fan canopy. |
| Compatibility | Guaranteed to work with your fan's original receiver. | Works with most AC motor fans but replaces the original receiver. |
| Best For | A quick and easy fix when only the remote is broken. | When the receiver is faulty, the original parts are unavailable, or you want an upgrade. |
| Features | Will have the exact same functions as your original remote. | Can add new features like more speed settings or light dimming options. |
Let's dig into what this means for you.
- A Direct OEM Replacement is the path of least resistance. You find a remote with the same part number, copy the DIP switch settings from your old one, and you’re back in business. It's fast, and you don’t have to touch any wiring.
- A Universal Remote Kit comes with both a new remote and a new receiver. This is the go-to solution if you suspect your old receiver is dead or if you simply want to add modern features to an older fan that still works great.
Think of it less as a repair and more as an opportunity. Installing a modern universal kit is a genuine upgrade. For example, a high-quality kit compatible with a premium Fanimation or Minka-Aire fan can add smart home controls, more fan speeds, and better light-dimming capabilities. It turns a simple fix into a real enhancement for your home, especially for those fans in the $300+ range where you want a truly premium experience.
If you’re ready to find your part, you can explore a wide selection of replacement fan remote options to find the perfect match for your specific model and needs.
A Practical Guide to Fan Receiver Installation
Alright, you've got your new replacement fan remote and receiver. Now comes the fun part—getting it installed. This might feel like a job for an electrician, but honestly, it’s a pretty straightforward task you can knock out yourself with a little patience and a big focus on safety.
Let's walk through it together. We'll take the mystery out of the process and get you that much closer to kicking back with your feet up, remote in hand.
First thing’s first, and this is non-negotiable: kill the power. Seriously. Head to your circuit breaker and flip the switch for the room where you're working. The easiest way to double-check is to flick the wall switch for the fan. If nothing happens, you're good to go.
Gathering Your Tools and Getting into the Canopy
You don't need a massive, professional-grade toolbox for this. A few simple items will get the job done.
- A sturdy ladder (no wobbly chairs!)
- A Phillips head screwdriver
- Wire cutters/strippers
- A voltage tester (I can't recommend this enough for peace of mind)
- Wire nuts (your new kit should come with these, but it's good to have extras)
With your tools in reach, get up on that ladder and take a look at the fan's canopy—that's the decorative cover flush against the ceiling. Find the screws holding it in place and loosen them just enough so you can carefully lower it. This will reveal the wiring and the old receiver you’re about to swap out.
This is where the real work begins.
Wiring Your New Receiver Like a Pro
Now, let's get that old receiver out of there. You'll see a small bundle of color-coded wires. It can look like a bit of a spaghetti mess, but each wire has a specific purpose.
Here’s a typical breakdown of what you'll find:
- Black Wire: The "hot" or live wire from your home's power.
- White Wire: The neutral wire.
- Blue Wire: Usually powers the light kit.
- Green/Copper Wire: The ground wire for safety.
Your new receiver will have wires that match up with these. You'll connect them by twisting the exposed copper ends together and capping them off snugly with a wire nut. You'll be making connections from the ceiling wiring to the receiver, and then from the receiver out to the fan itself.
If you want a really in-depth look, our guide offers an excellent ceiling fan wiring diagram with a remote control that lays it all out visually.
Think about it this way: when you invest in a high-end Casablanca control system, which can run well over $300, you're paying for precision engineering. The instructions are crystal clear because every connection matters. Treat your installation with that same level of care, and you can't go wrong.
Pro Tip: Once you've made the connections, take a second to neatly arrange the wires inside the canopy. Don't just cram them in there. A pinched wire can lead to a bad connection or, worse, a short. A little bit of organization here makes a huge difference.
With everything connected, slide the new receiver into the fan's mounting bracket. Push the canopy back up against the ceiling and tighten the screws.
That's it for the hard part! Now you can head back to the breaker, flip the power back on, and get ready for the final step: pairing your new remote.
Alright, you've got the new receiver wired up and you're in the home stretch. The last piece of the puzzle is getting your new replacement fan remote control and receiver to talk to each other. Think of it as a digital handshake—it’s what ensures the fan actually listens when you press a button.
How you do this really depends on how old your fan is. There are two main ways this pairing happens.
The Classic DIP Switch Method
If you've got an older fan, you'll likely be dealing with DIP switches. These are just tiny, numbered toggle switches you'll find tucked away in the remote's battery compartment and sitting on the side of the receiver.
The concept is simple but surprisingly effective. The pattern of 'on' and 'off' switches has to be an exact match on both devices. This little sequence is what creates a unique radio frequency just for your fan.
It’s a clever, low-tech way to prevent interference. Let’s say you have fans in two bedrooms right next to each other. If both were set to the same DIP switch pattern (like 1-on, 2-off, 3-on, 4-off), hitting one remote might turn on both fans at once. To avoid that chaos, you just create a different, unique pattern for the second fan and its remote. Problem solved.
The Modern 'Learn' Button
Thankfully, most newer universal kits and modern fans have moved on to a much simpler system: the 'Learn' or 'Pair' button. No more squinting at tiny switches.
The process is usually pretty straightforward:
- Flip the power back on at the circuit breaker. This starts a short timer, usually giving you between 30 to 60 seconds to act.
- Grab the remote and press and hold the 'Learn' button.
- You'll get a confirmation that it worked—the fan's light might flash, or you'll hear a little beep.
That’s it. It’s a quick, painless method that has become the standard for good reason.
Pairing isn't just a technical step; it’s what gives your fan its own private line of communication. By setting that unique frequency, you're cutting through the noise from all the other wireless devices out there, ensuring your fan works reliably every single time.
What About High-End Smart Fans?
Now, if you've invested in a premium model like a WAC Smart Fan or a top-tier Hunter model, which can easily cost over $300, the pairing process is a whole different ballgame. These fans don't just pair with a remote; they connect directly to your home's Wi-Fi.
Instead of pressing a button, you'll be using a mobile app to get the fan onto your network. This step unlocks a completely different level of control, from setting schedules and using voice commands with Alexa or Google Assistant to operating your fan from halfway across the world.
It's a perfect example of how much the fan market is changing. In fact, the global fan market was valued at USD 14.37 billion in 2023 and is only expected to grow, thanks in large part to this demand for smarter, more connected home products. You can read more about these market trends on marketsandata.com.
Solving Common Fan Remote Control Problems
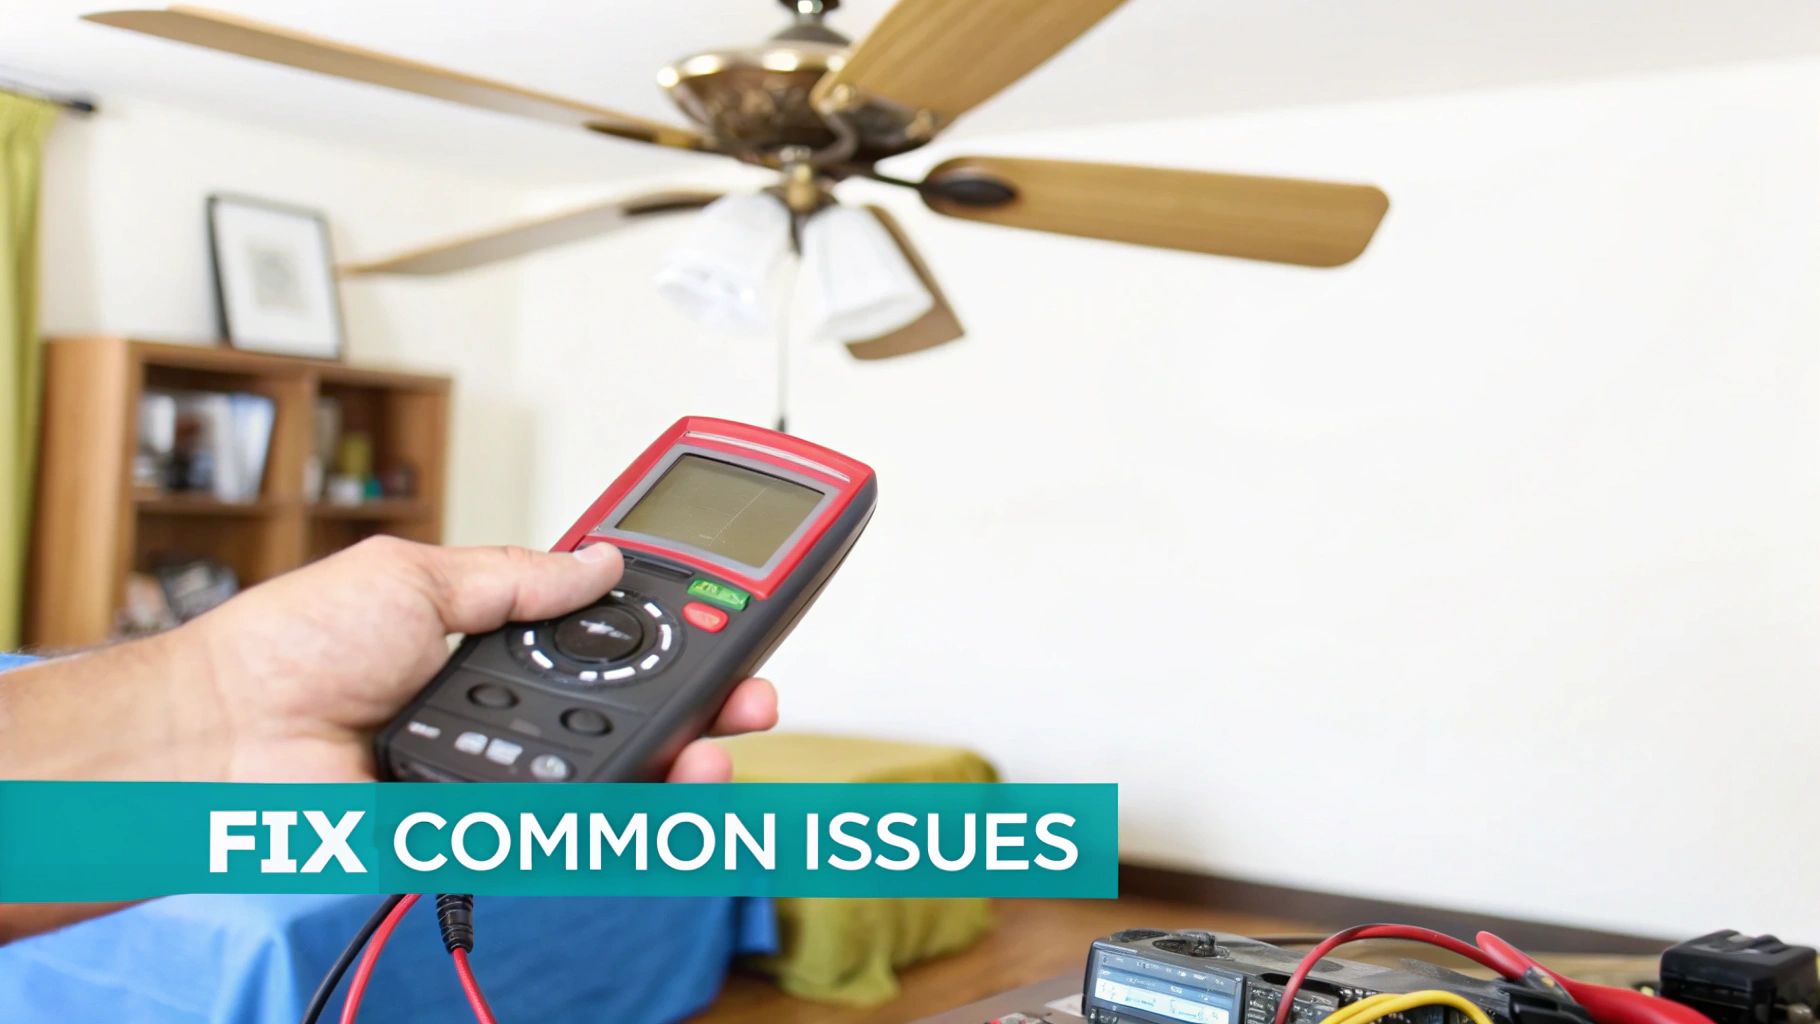
So, you’ve installed your new replacement fan remote control, followed all the steps, but it’s still not working quite right. Don't throw the remote across the room just yet! It happens. The good news is that most of these glitches are pretty common, and you can usually solve them yourself without having to call an electrician.
Before you grab a screwdriver, let's start with the easiest fixes. It might sound a little too simple, but you'd be surprised how often dead batteries are the culprit. They're the number one reason a remote suddenly stops working. Go ahead and swap in a fresh set, and double-check that they’re facing the right way.
If new batteries don’t do the trick, the next step is to force the remote and receiver to talk to each other again. Head to your breaker box and flip the power off to the fan for about 30 seconds. Turn it back on, and as soon as the fan has power, press and hold the 'Learn' or 'Pair' button on the remote. This quick power cycle is often all it takes to reset the connection.
Diagnosing Specific Control Issues
Sometimes, the problem is more specific. The fan blades might be spinning just fine, but the light refuses to turn on. Or maybe it's the other way around. When this happens, it's a huge clue that there’s probably a loose wire inside the fan's canopy.
If one part works and the other doesn't, it almost always means one of the output wires from the receiver isn't making a solid connection. For instance, if the light is out, the blue wire (the standard for light kits) might have wiggled loose from the fan's light wire. You’ll need to turn the power off at the breaker again and take a look at those wire nut connections to make sure everything is snug.
Is your fan light flickering or are the speeds changing on their own? That's a classic sign of radio frequency (RF) interference. It means another wireless gadget in your house is using a similar frequency and scrambling the signal from your remote.
To track down the source of the interference, take a look at other electronics nearby. The most common culprits are:
- Garage door openers
- Wireless speakers or soundbars
- Older cordless phones
- Smart home hubs
Try unplugging these devices one at a time to see if the fan starts behaving. If your remote has DIP switches, changing the code to a new combination can also solve it by moving your fan to a clearer frequency.
If you're still stuck, this checklist can help you narrow things down quickly.
Quick Troubleshooting Checklist
| Problem | Potential Cause | First Solution To Try |
|---|---|---|
| Remote does nothing | Dead batteries or pairing lost | Replace batteries, then re-pair the remote using the power cycle method. |
| Light works, fan doesn't (or vice versa) | A specific wire is loose | Turn off power and check the receiver's output wire connections (blue for light, black for fan). |
| Fan/light acts erratically | Radio frequency (RF) interference | Turn off nearby wireless devices or change the DIP switch code. |
| Fan is completely dead | No power to the unit | Check the circuit breaker and make sure the wall switch is on. |
| Smart fan is offline | Wi-Fi connectivity issue | Reboot your home's Wi-Fi router. |
This table covers the most frequent issues we see, but if these steps don't resolve the problem, it might be time to double-check your initial wiring.
When the Fan is Completely Unresponsive
Okay, so what if the fan is totally dead? No light, no spin, nothing. You’ve already tried new batteries and re-pairing, but it’s still not responding. It's time to go back to the absolute basics.
First, check your circuit breaker to make sure it hasn't tripped. It should be firmly in the 'On' position. Next, find the wall switch that controls the fan. Someone might have flipped it off by accident, which cuts all power to the fan itself.
For those of you with high-end smart fans from brands like Haiku or Big Ass Fans, which can easily cost over $300, the problem could be your Wi-Fi. If the fan appears offline in its app, a simple router reboot can often fix the connection. A weak Wi-Fi signal in the room where the fan is installed can also cause intermittent control issues, so that’s another thing to keep in mind with these more advanced systems.
Common Questions About Fan Remotes
Even when the installation goes smoothly, a few questions always seem to pop up. Getting the right answers can be the difference between a quick fix and a day of frustration. Let's tackle some of the most common things we hear from customers.
A big one is whether any universal remote will work on any fan. The short answer is no. A remote has to be compatible with your fan’s motor type—either AC or DC—and needs to support features like light dimming if your fan has them.
The most foolproof way to get it right is to buy a universal kit that comes with both a new remote and a new receiver. This guarantees the two parts are made to talk to each other, so you can skip all the frustrating guesswork.
Bringing Old Fans into the Modern Age (and Taming Multiple Remotes)
We get this one a lot: can you add a remote to an old pull-chain fan? Absolutely. By installing a universal remote kit, you can give a classic fan a modern upgrade. The process is pretty straightforward—you’ll just wire the new receiver between the power from the ceiling and the fan’s motor, essentially giving your fan a new brain.
Another common headache happens when you have more than one fan. If you install a new remote and suddenly it’s controlling two fans at once, it just means they’re both on the same frequency. It’s an easy fix, though.
The secret to stopping remote interference is giving each fan its own unique "address." This tells your remote exactly which fan to talk to, so you don't accidentally turn on the bedroom fan from the living room.
To fix this, you just need to set a unique DIP switch pattern for each fan. Pop open the battery compartment on the remote and look at the receiver in the canopy—you'll see a row of tiny switches. Just change the switch pattern on one of the fans and make sure its remote has the exact same new pattern. Problem solved.
The Next Level: Integrated Smart Fan Systems
With smart homes becoming the norm, a simple remote doesn't always cut it anymore. High-end integrated systems from brands like Minka-Aire or Fanimation are a major leap forward, though they often come with a price tag of $300 or more.
For that price, you're getting a ton of advanced functionality. These premium systems usually include:
- Wi-Fi Connectivity: You can control your fan from anywhere with a smartphone app.
- Voice Commands: They work with assistants like Alexa and Google Home, so you can just tell your fan what to do.
- Advanced Scheduling: You can set your fan to turn on or off automatically, which is great for saving energy.
These systems are really the future of home comfort, turning a humble ceiling fan into a fully connected part of your home.
At Fan Connection, we think finding the right fan—and the right controls—should be easy. Take a look at our curated collections to find the perfect mix of style and function for your space. Visit us today at https://www.fanandlights.com.


